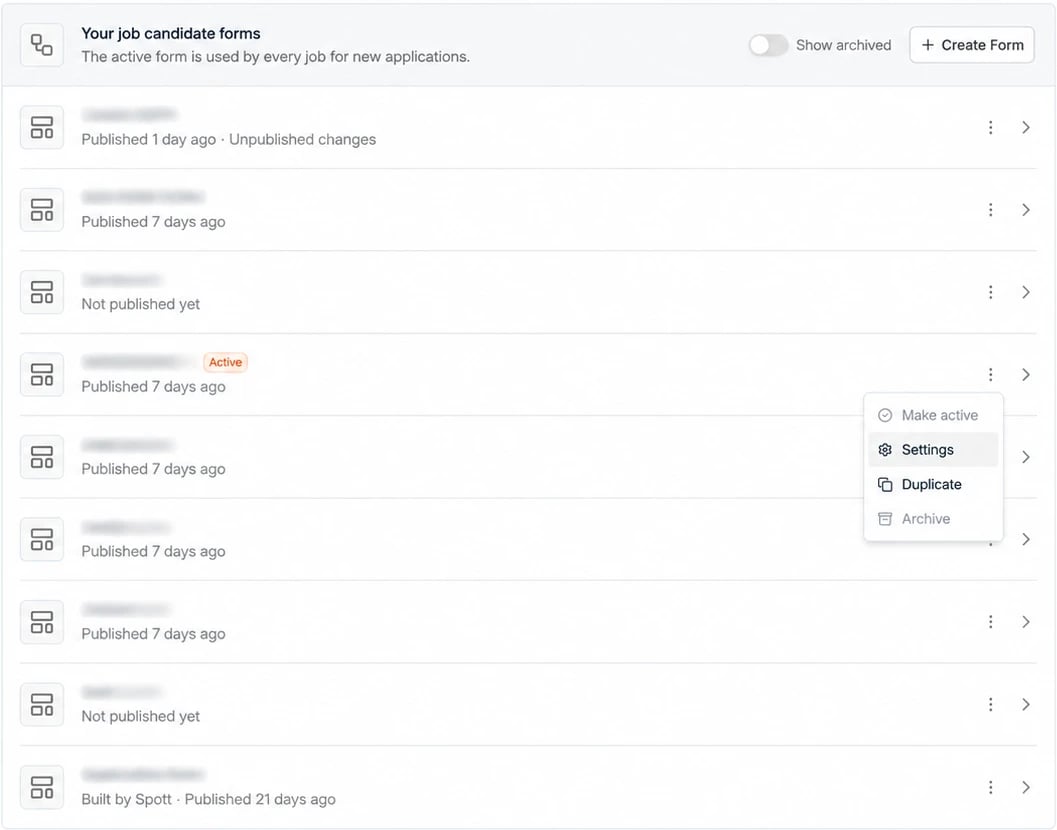
Add elements to the form
Click + Add to form and choose an element. It is added to the form, and its settings open in the panel on the right. Click any element on the form to edit it, or drag it to change the order or to place two questions next to each other.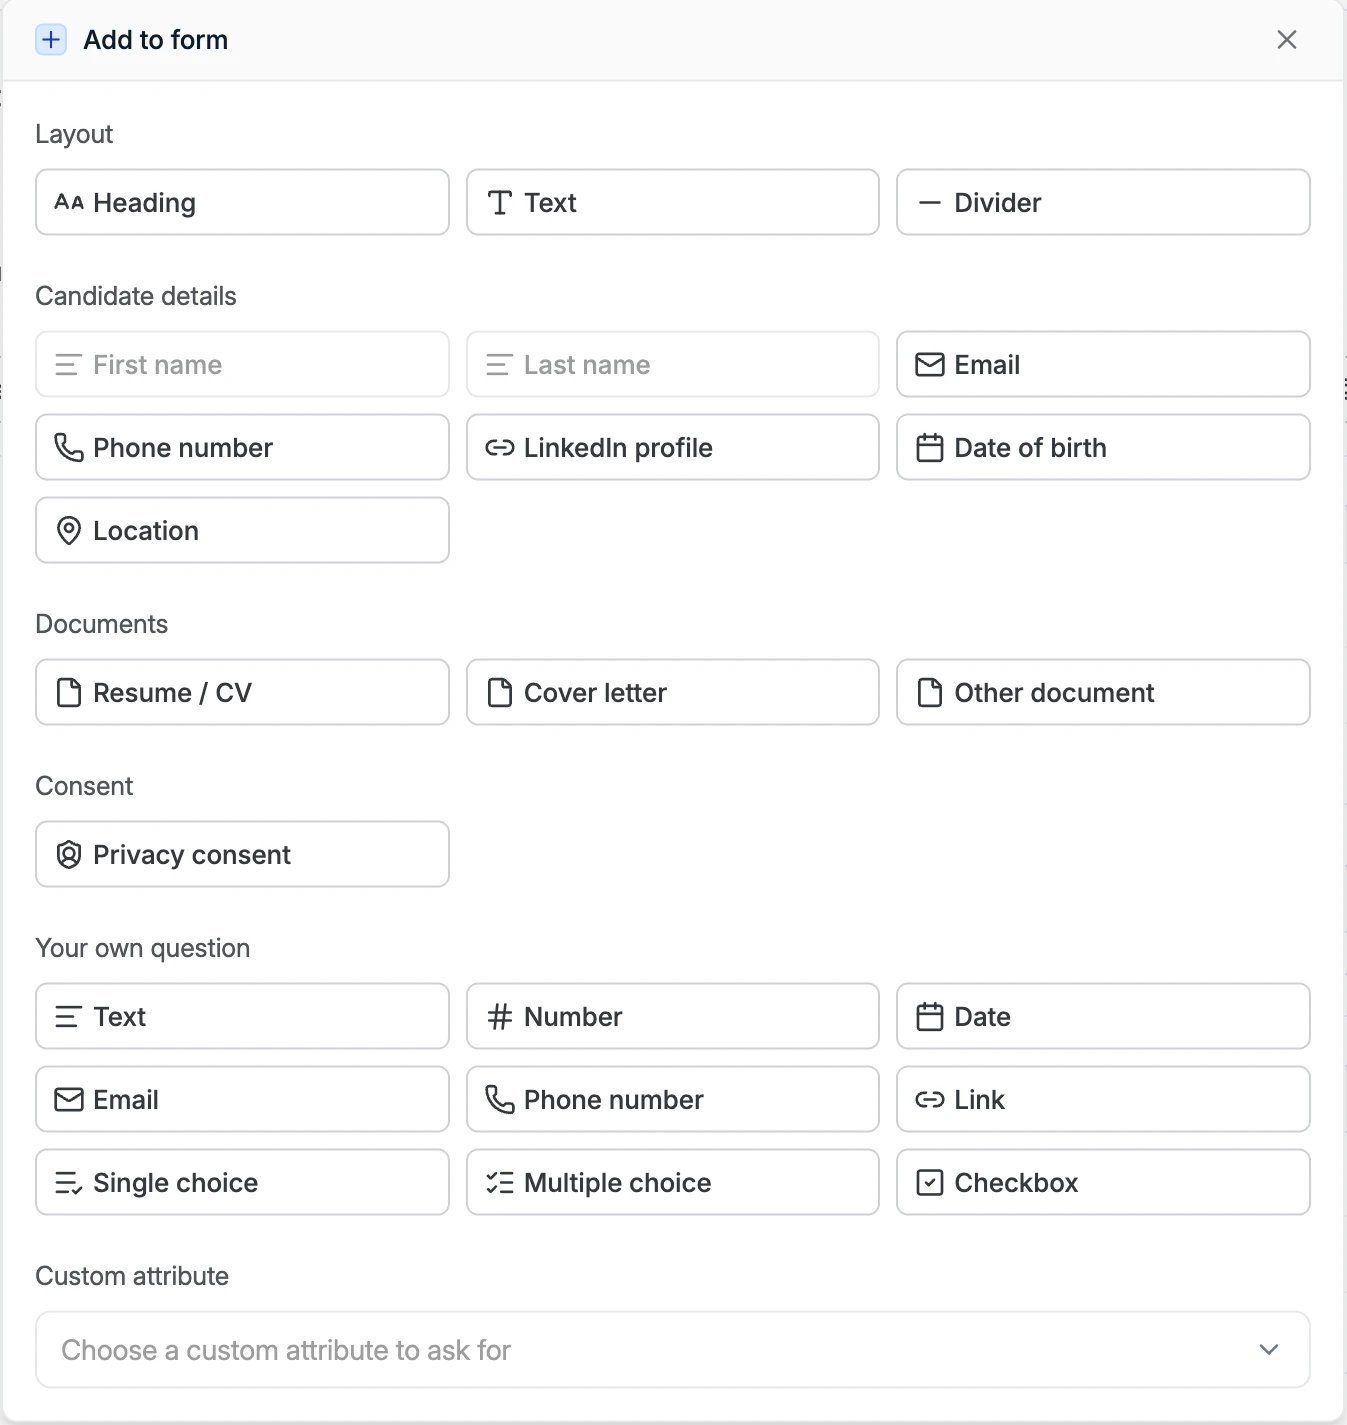
An element that is already on the form is greyed out in the menu.
Question settings
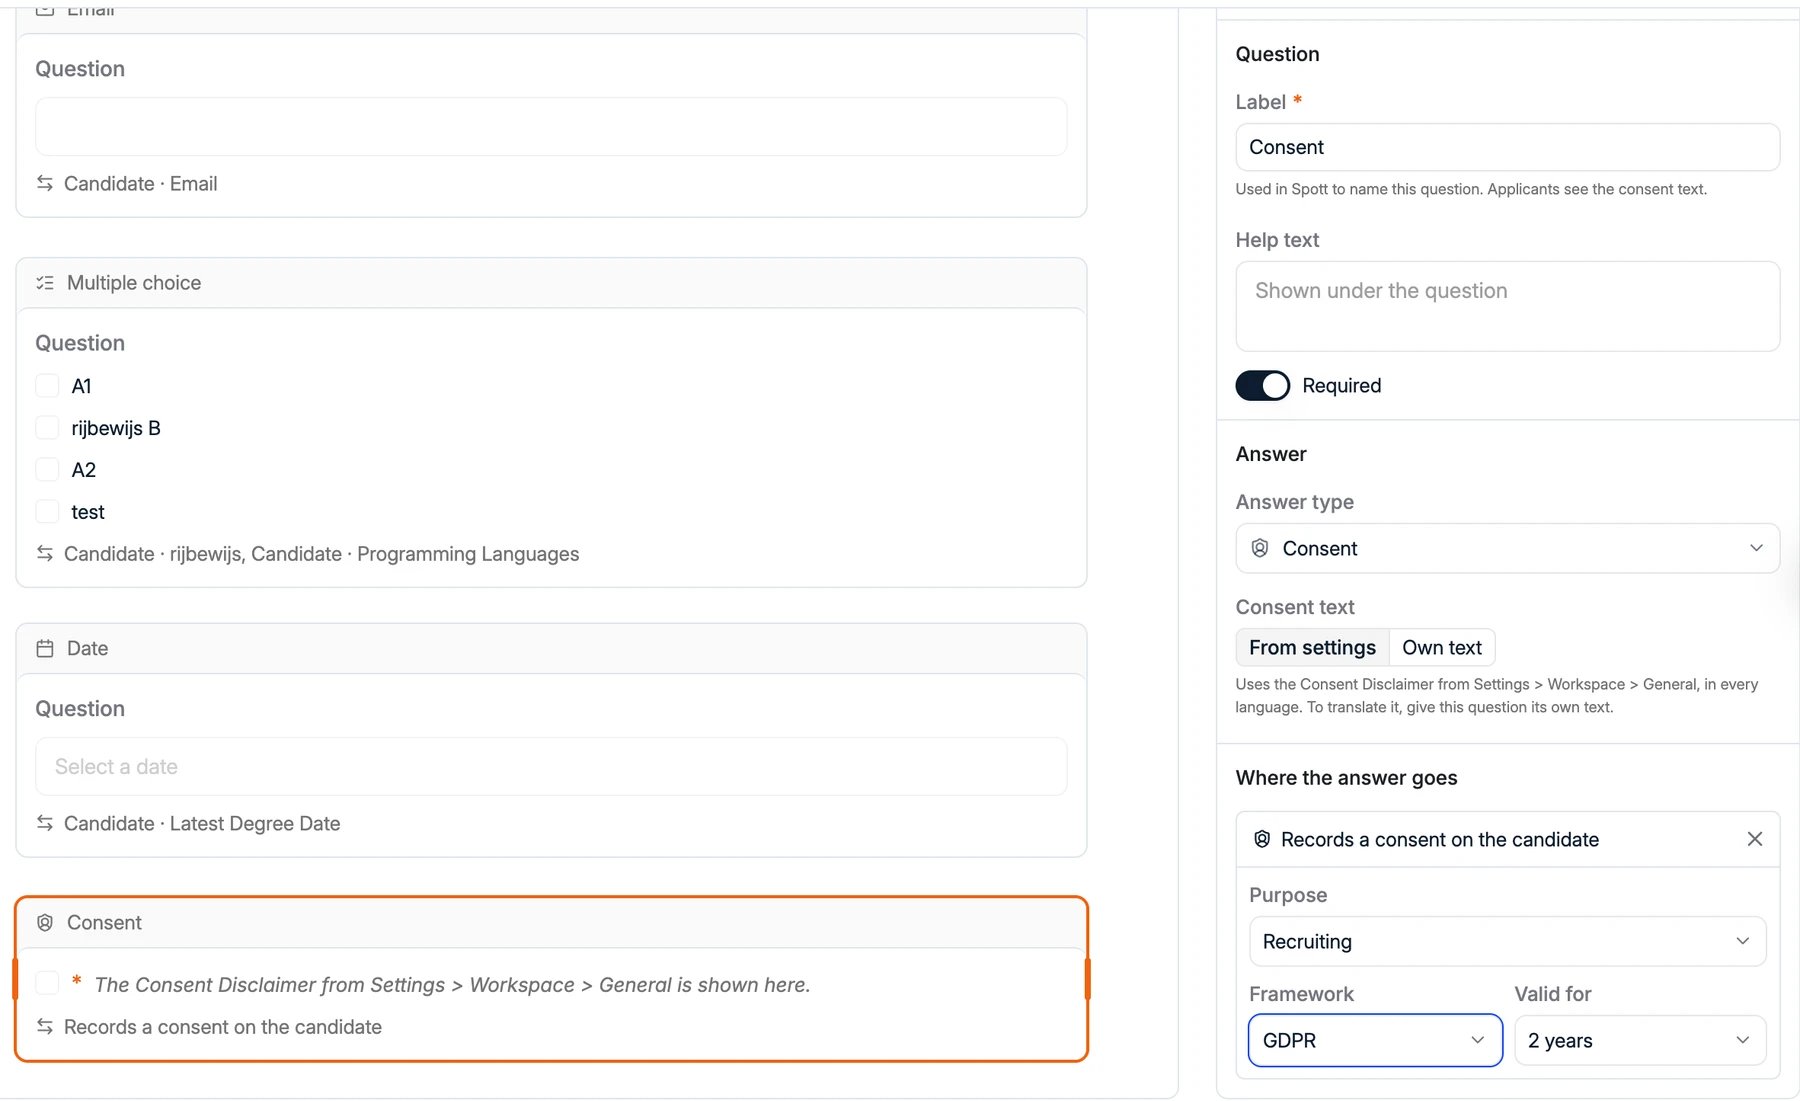
Every question has the same basic settings:- Label: the question the candidate sees.
- Help text: shown under the question.
- Placeholder: example text in the empty field.
- Required: the form can’t be submitted without an answer.
Choose where the answer goes
Where the answer goes shows the field that stores the answer, such as Candidate → Phone number or a custom attribute. Candidate details and documents are linked to their field already.- To save the answer to your own question, click + Save to a field and pick the field.
- To save the same answer to a second field, click + Also save to….
- An answer that isn’t saved to a field is Only kept on the submission. It is not added to the candidate profile.
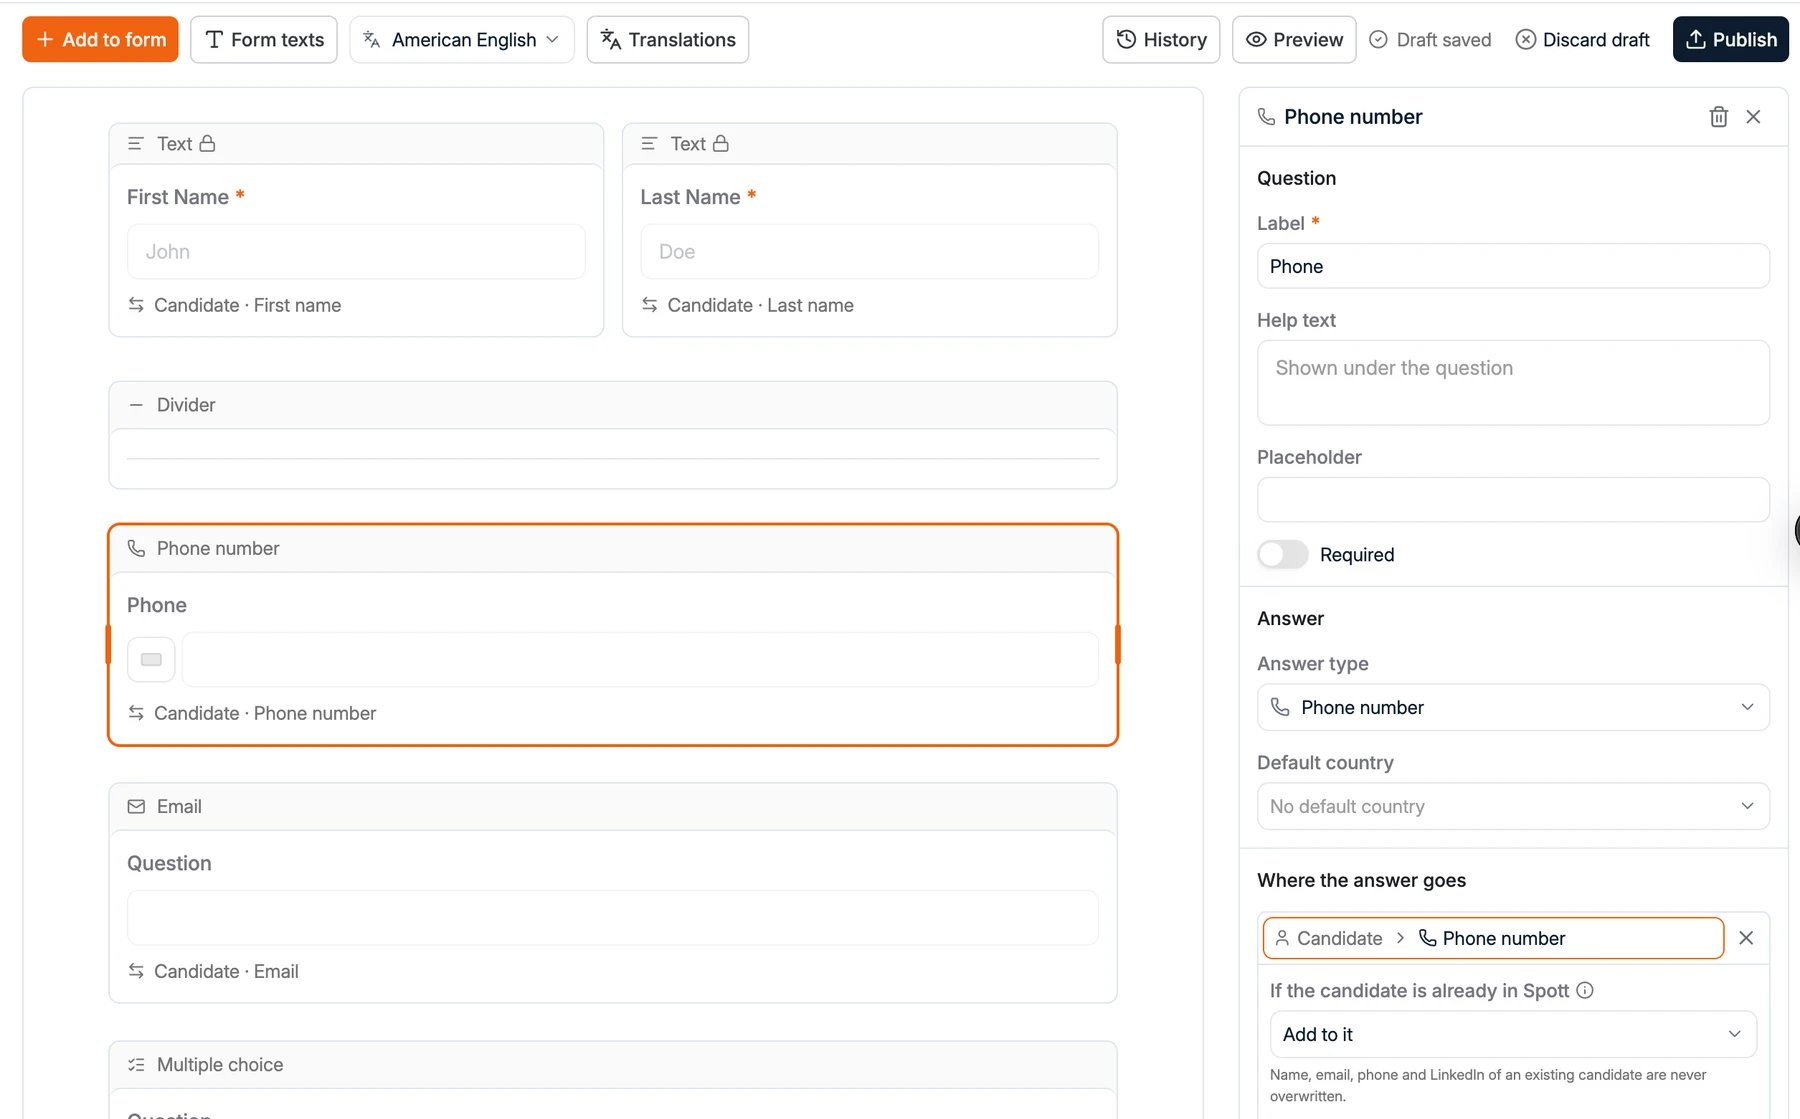
- Add to it adds the answer to what is already on the profile.
- Keep the current value leaves the existing value as it is.
Link options to attribute values
When a choice question saves to a custom attribute with set values, such as a Driving licence attribute, each option is linked to one of those values. Spott lists the attribute’s values that aren’t on the form yet. Click a value to add it as an option, or Add all to add them all at once. An option can save several values to a multi-select attribute, or none. If the question also saves to a second attribute with Also save to…, choose a value for that attribute under each option too, or leave it on Saves nothing.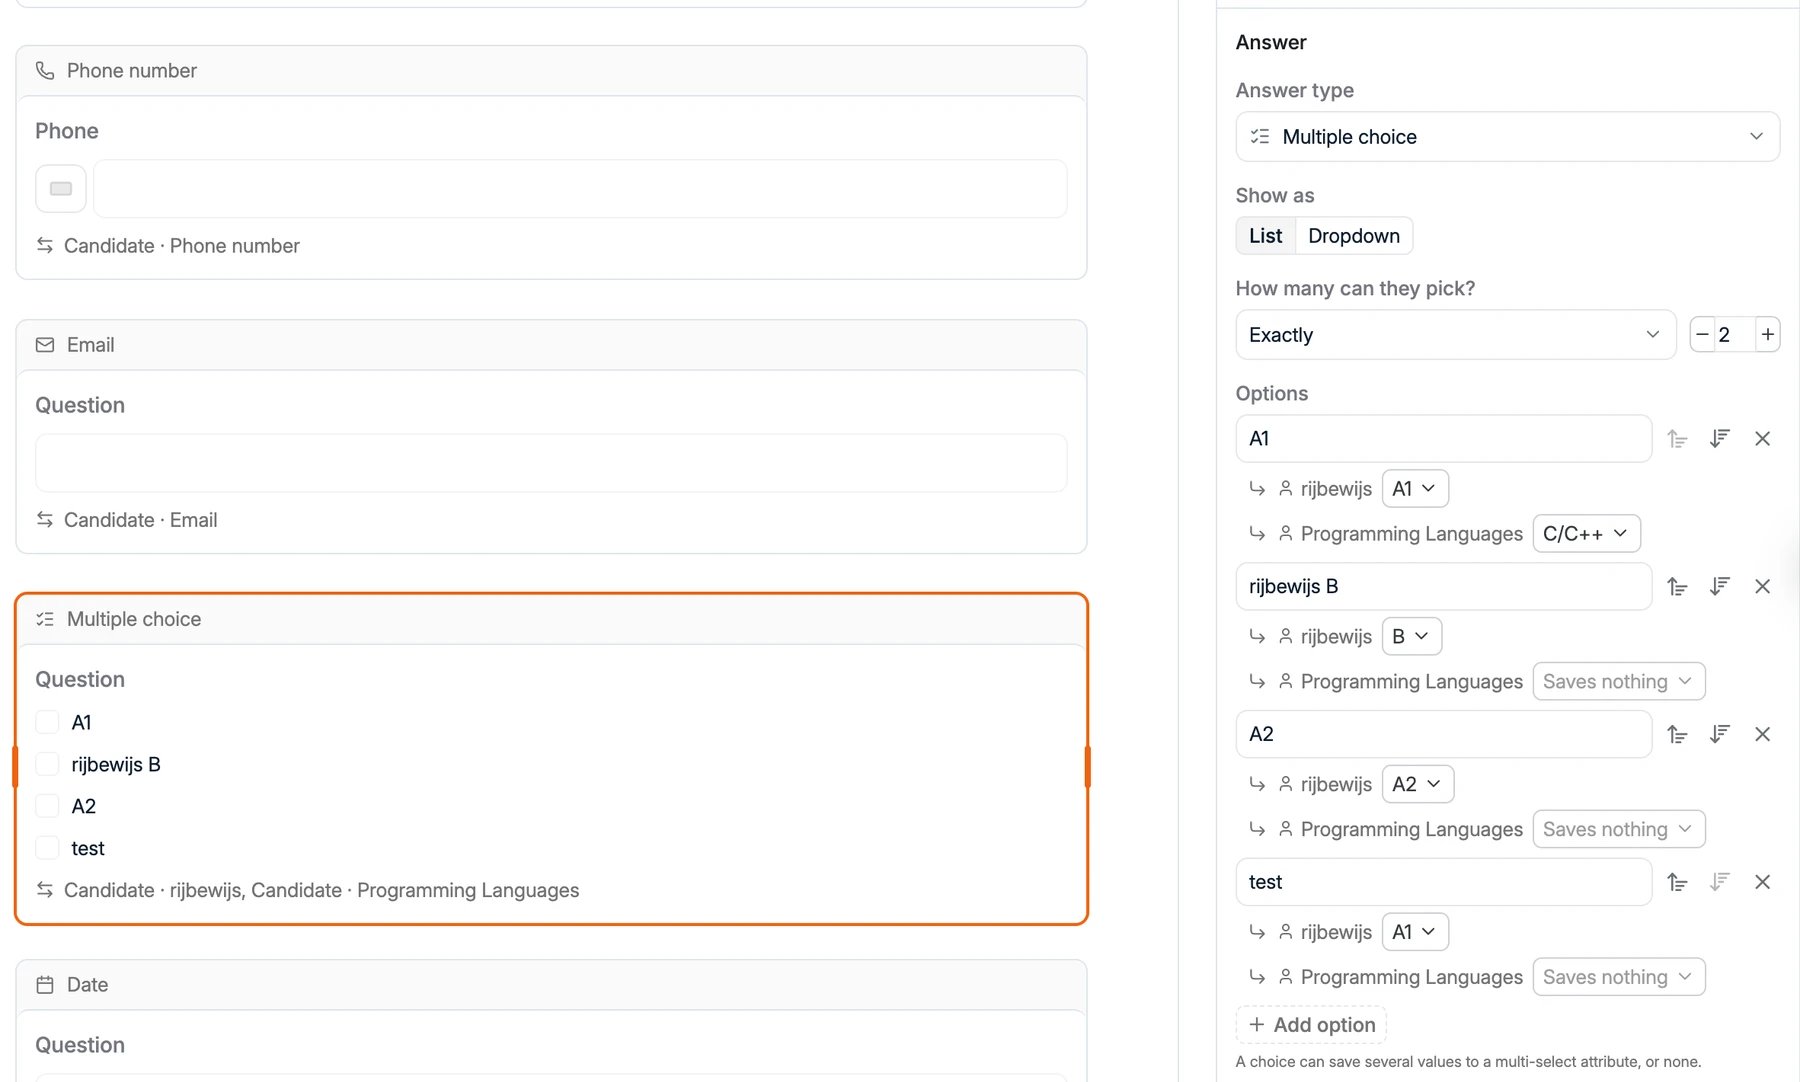
Add a consent question
Add Privacy consent from the Consent group. It is required by default.- The Label only names the question inside Spott. Candidates see the consent text.
- Under Consent text, From settings uses the Consent Disclaimer from Settings → General, in every language. To translate the text, choose Own text and write it for this question.
- Under Where the answer goes, the answer Records a consent on the candidate. Choose the Purpose, such as Recruiting, the Framework, such as GDPR, and how long it is Valid for.
Form texts
Click Form texts to set the form’s Title, the label of the Submit button, and the Message after submitting.Preview the form
Click Preview to see the form the way candidates see it. Switch languages at the top of the preview. Submitting the preview checks the answers like the real form, but nothing is sent.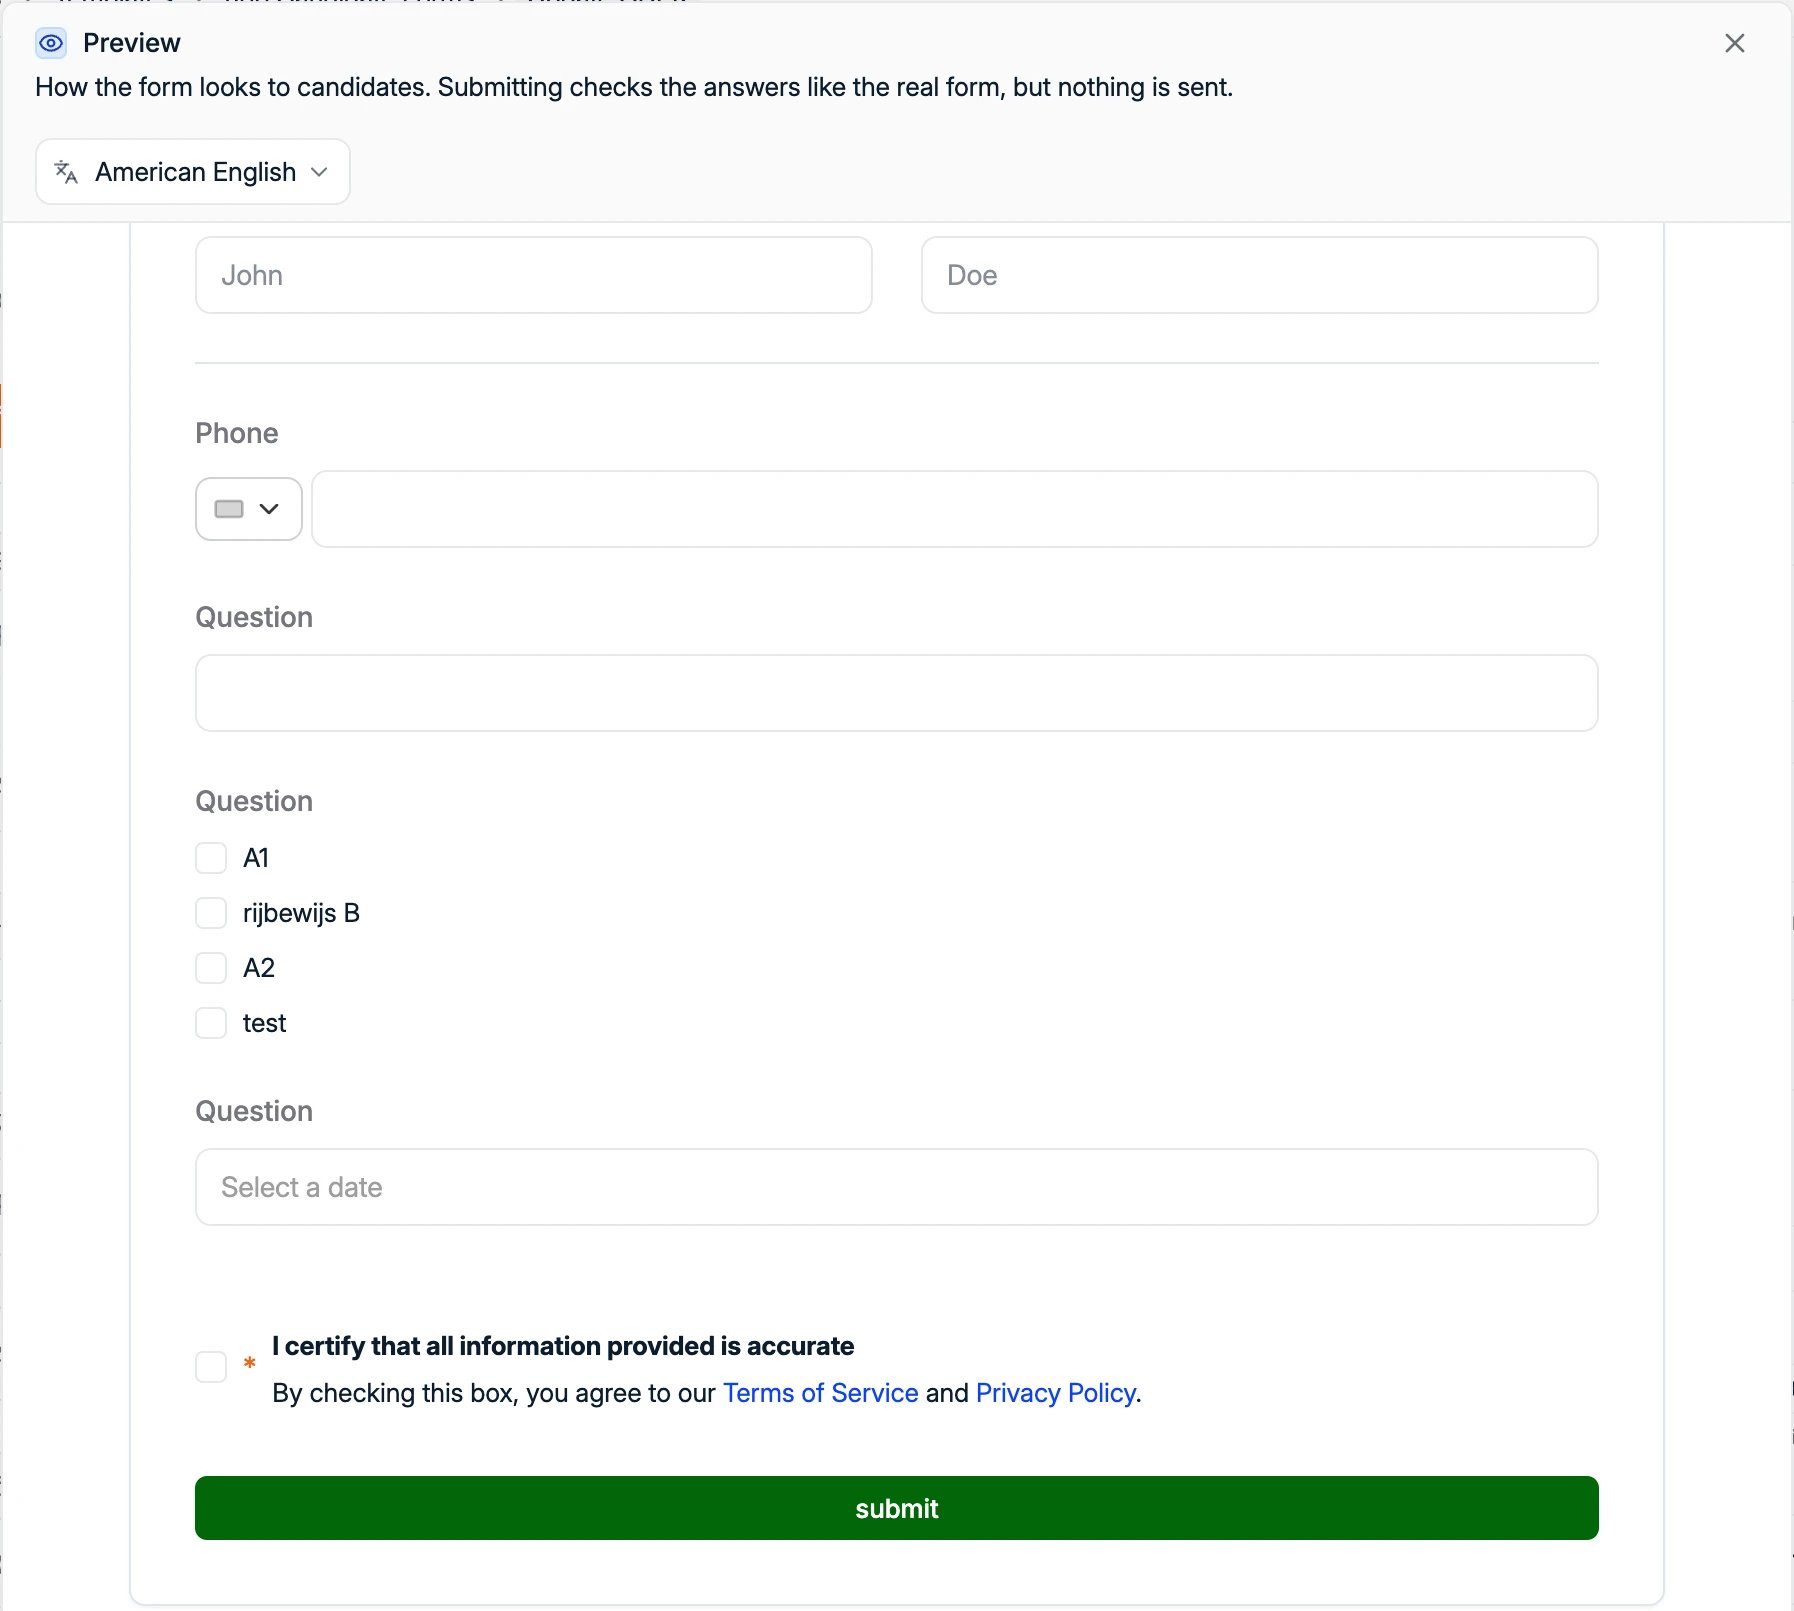
Translate the form
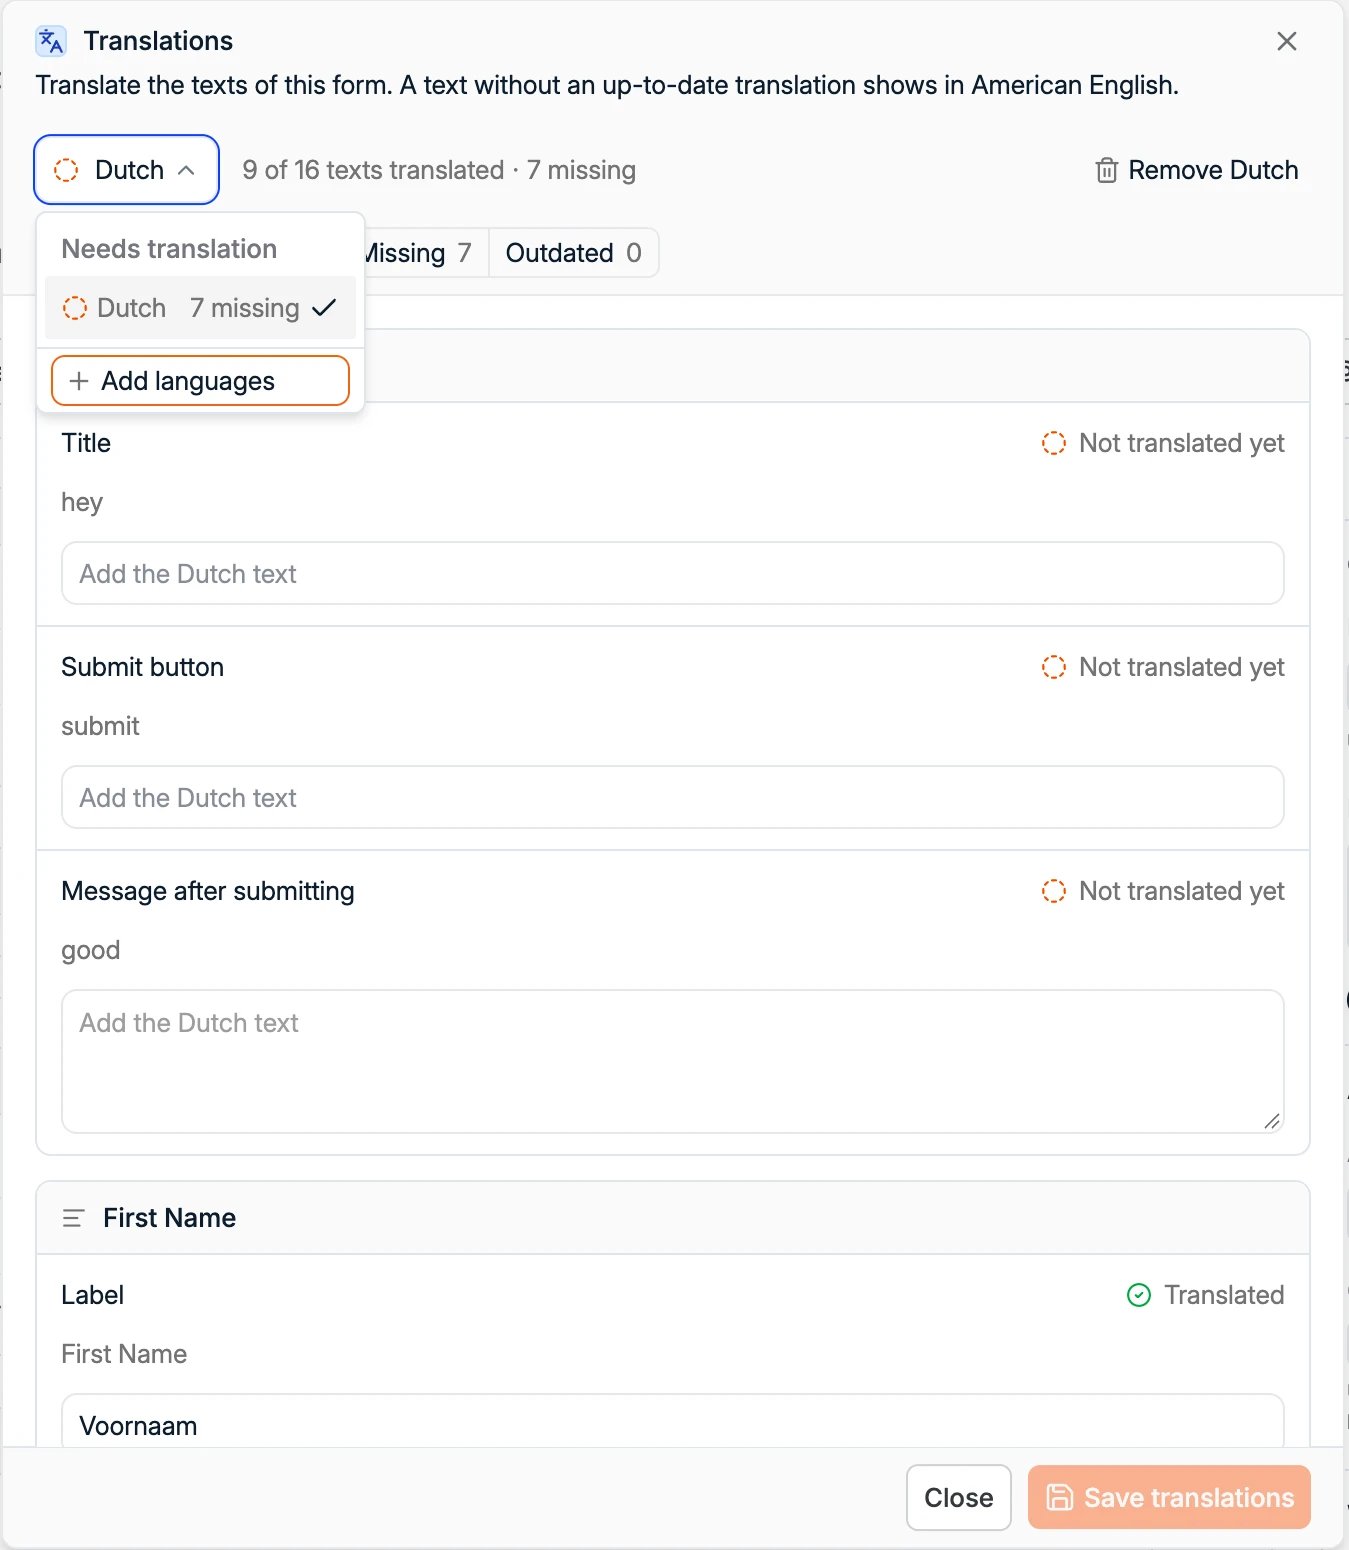
Every form has a main language, chosen when you create it. That is the language you write and edit the form in.- Click Translations, then + Add languages, and choose a language.
- Fill in the translation of each text. Spott already fills in standard texts, such as First Name. Check them and change them if needed.
- Use the Needs work, Missing and Outdated filters to find the texts that are left.
- Click Save translations.
Spott doesn’t check that a translation is written in the right language. Check the form
in each language before you publish.
Publish the form
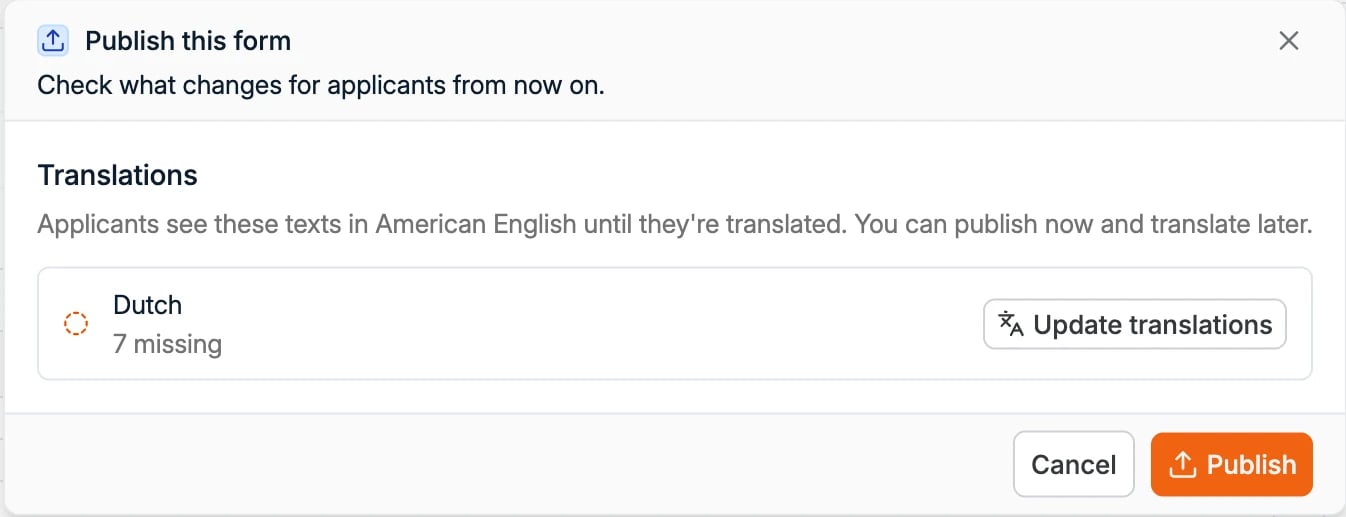
Spott saves your changes as a draft as you go. Candidates don’t see them until you publish. Click Discard draft to throw away unpublished changes.- Click Publish. Spott lists what changes for candidates, including languages with missing translations. You can publish now and translate later, or click Update translations first.
- Click Publish to confirm.
Restore an earlier version
Click History to see every time the form was published, when, and by whom. Click View to look at a version, or Restore to start a new draft from it. Publish the draft to make that version live again.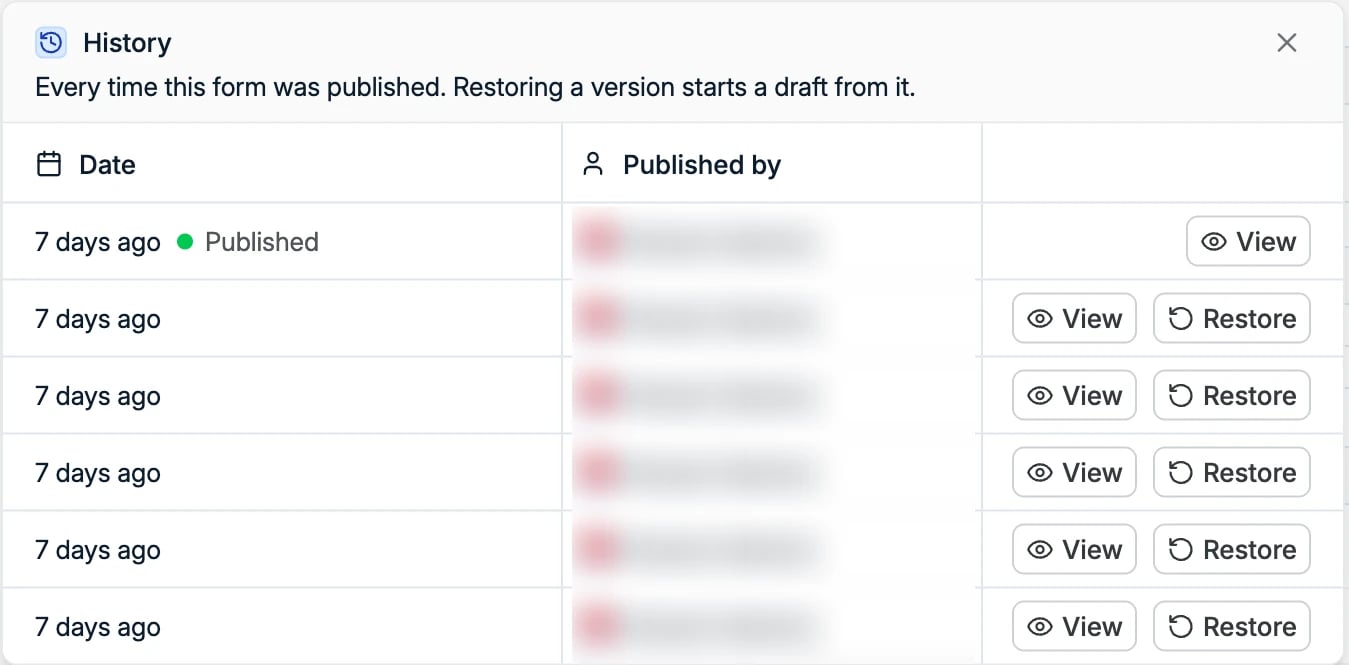
Rename, duplicate or archive a form
Click the three dots next to a form, in the list or at the top right of the form:- Settings changes the form’s name and main language.
- Duplicate creates a copy you can change.
- Archive removes the form from the list. Turn on Show archived to see archived forms.