

Usage

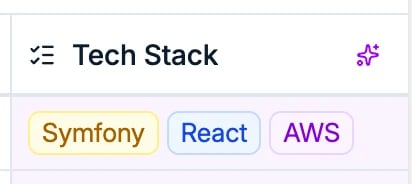
AI-filled values in a candidate table column
Once AI-filled columns are enabled and configured, the system automatically populates the attributes based on candidate profiles and CVs. The AI analyzes the available information and fills in the attributes according to your prompt. For example, you can create attributes for:
  • Age calculation based on graduation dates
  • Skills extraction from CVs
  • Category matching based on candidate profiles
AI autofill is forward-only: the column is filled when you create it and again whenever a record is created. It does not retroactively backfill records that already exist. A value does not update on its own when the record changes. To bring one up to date, hover the cell and use Regenerate value with AI. There is no bulk refresh, so a whole column cannot be recalculated in one go.
Regenerate value with AI on an AI-filled column
AI columns work best on a finite set of values. Use a select or multi-select attribute rather than free text: the AI picks from your options instead of inventing wording, which keeps the column filterable and reportable.
Choose those options carefully, because on an AI-filled attribute they are locked once the attribute exists. Editing it to add a value raises a warning instead, and the way round is to create a second AI-filled attribute carrying the full list. An ordinary attribute you fill yourself has no such limit, so this catches people who turn AI filling on and then want to extend the list.

Take a column back

To fill a field yourself that Spott is filling for you, go to Settings → Data model, open the record type, and switch AI autofill off on that attribute. The values already written stay where they are. That toggle can only be changed while Enable AI-Filled Columns is still on under Settings → Features. Switching the feature off workspace-wide leaves the attributes locked as they are, so turn the individual attributes off first, or ask support to re-enable the feature long enough to change them.

Setup AI-filled columns

  1. Go to Settings in your workspace.
  2. Navigate to the Features section.
  3. Toggle on Enable AI-Filled Columns. This feature needs to be active before you can create AI-powered attributes.

    The Enable AI-Filled Columns toggle
  4. Go to Settings → Data Model and pick the record type you want to create an AI column for.
  5. Click Create your own attribute.
  6. Configure the attribute type and name.
  7. Enable the AI autofill option.
  8. Write a clear prompt describing what the AI should extract or calculate for this attribute.
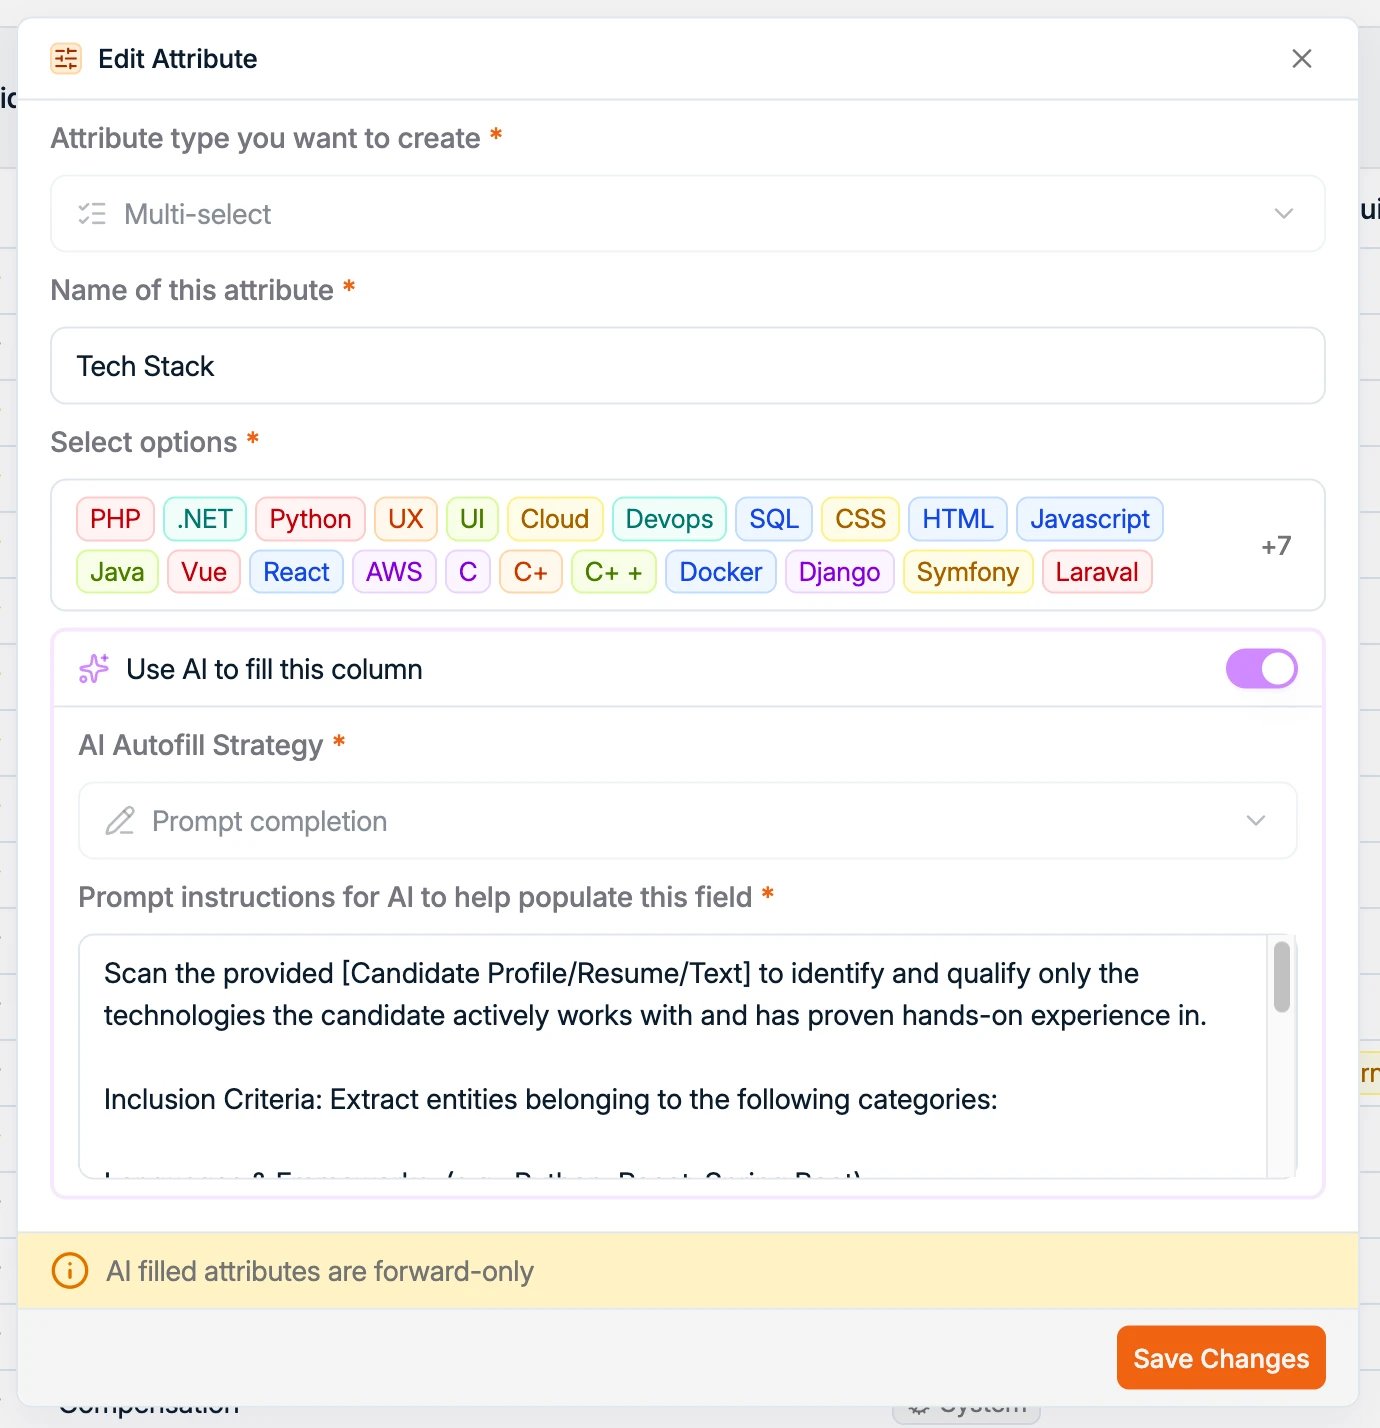
The AI autofill option with a prompt
Every other place Spott uses AI is mapped out in AI in Spott.