

G then O. See all
keyboard shortcuts.
1. Open the Contacts view
From the left-hand navigation bar, go to Contacts to see all client contacts in your system.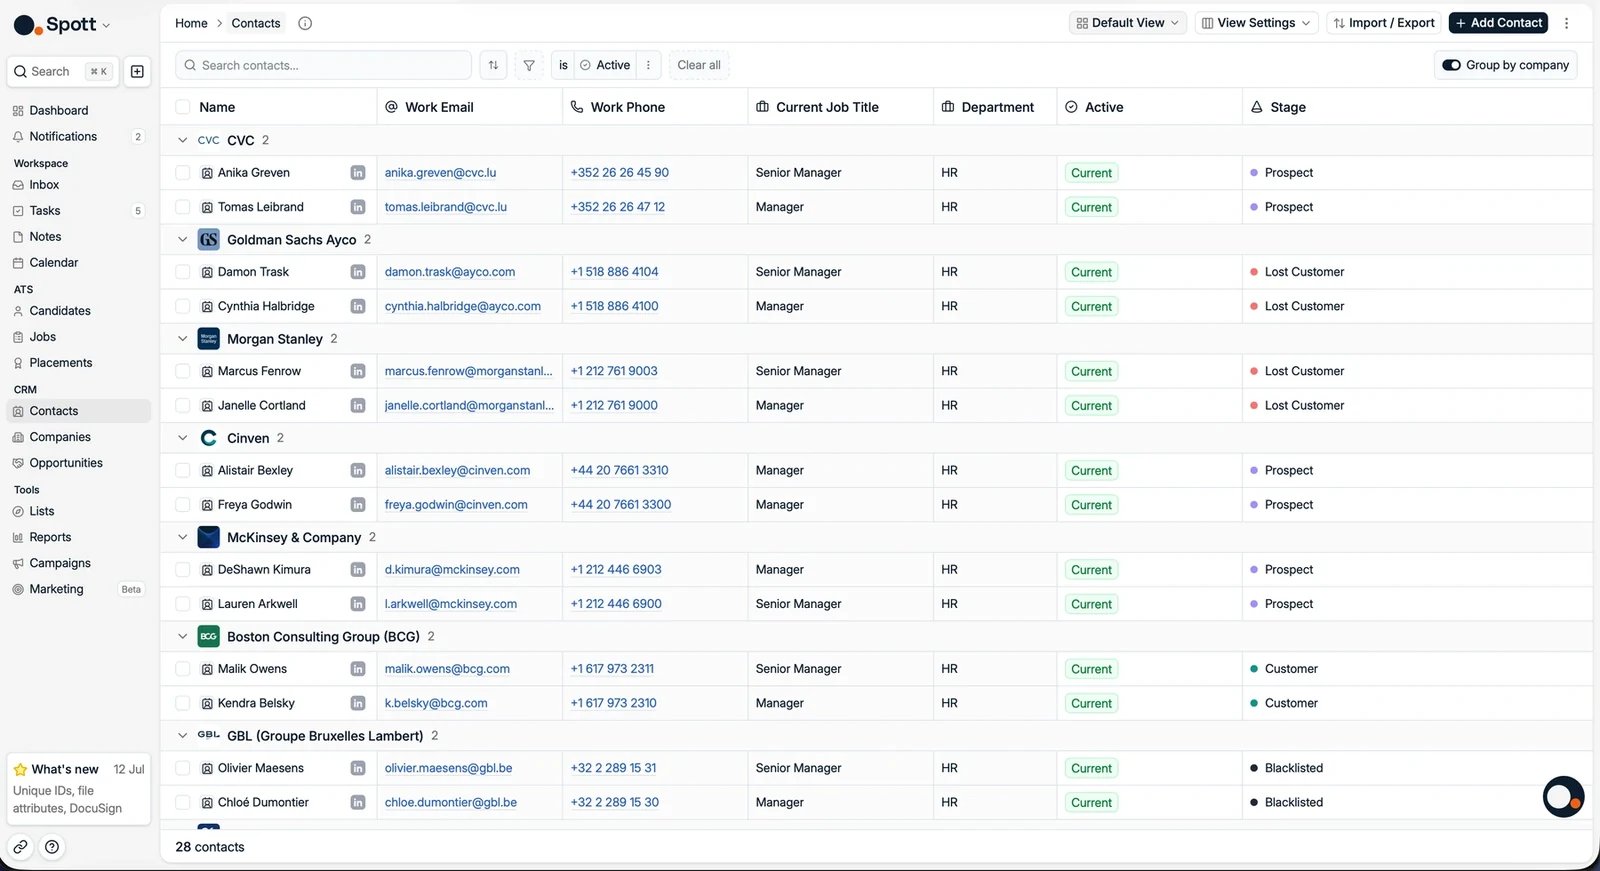
2. Group contacts by company
At the top-right of the Contacts view, you can toggle Group by company.- On: contacts are grouped under their company name, so you see everyone from the same organization together.
- Off: all contacts are shown in a single list, sorted according to your chosen sort option, for example Last Activity Date.
3. Add a new client contact
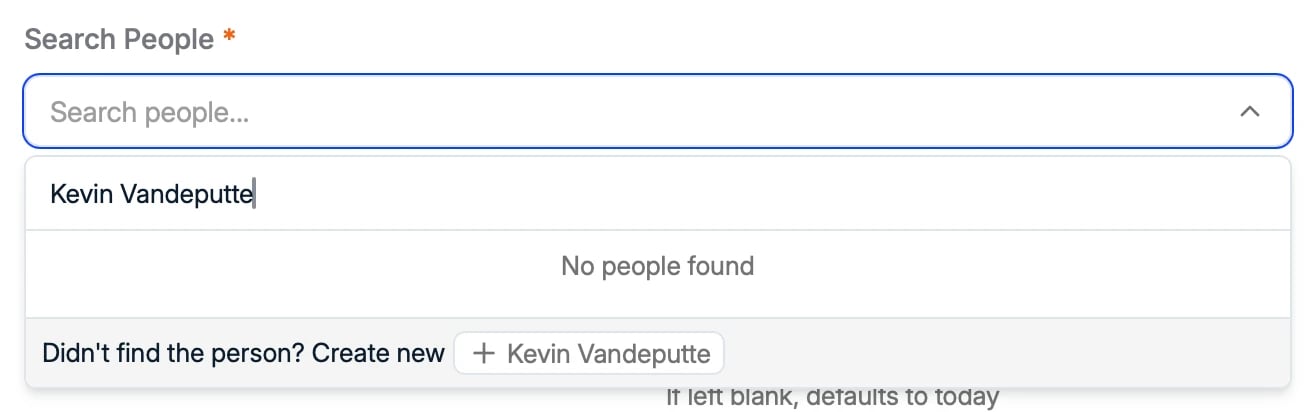
There are two ways to create a contact in Spott:Add a contact manually
Click the Add Contact button in the top-right corner.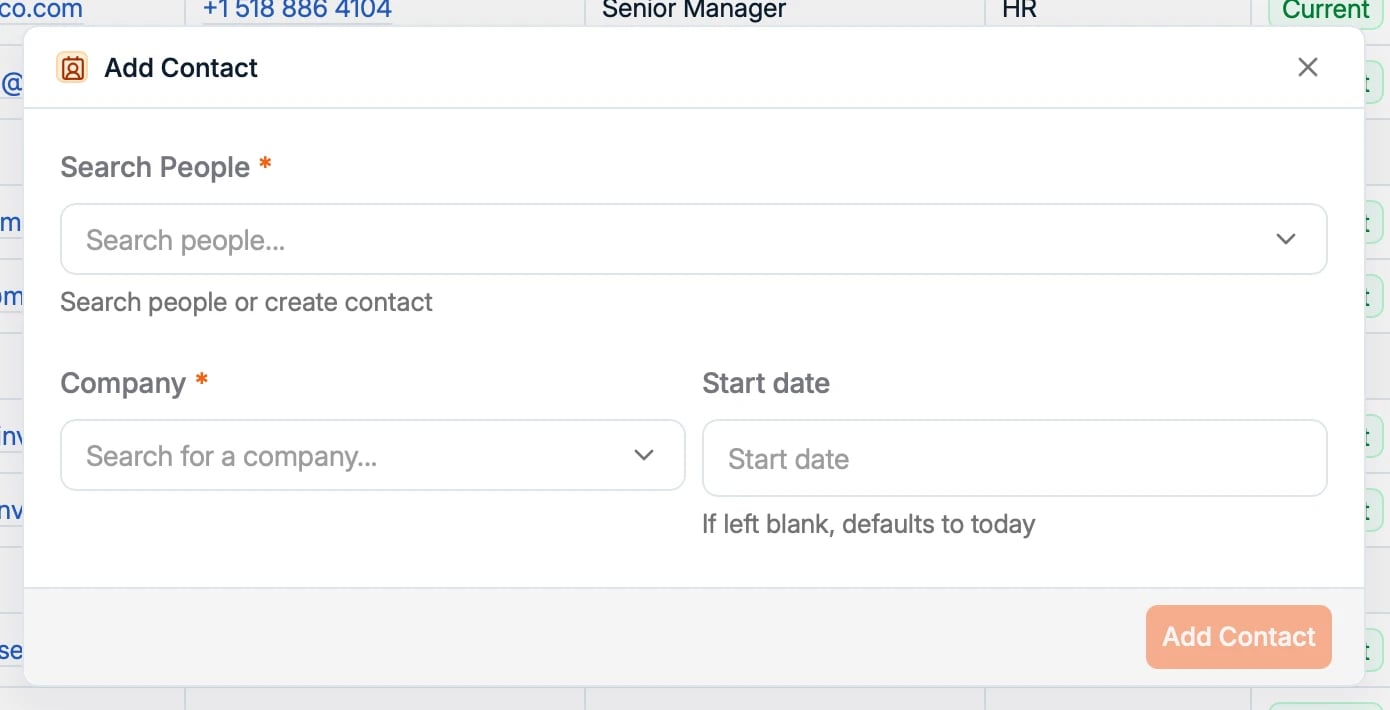
Add a contact via the Chrome extension
Import contacts straight from LinkedIn with the Spott Chrome extension.4. The contact profile
The contact profile works just like the candidate profile.Overview tab
- Summary: an AI summary of the contact and suggested field updates based on the whole profile.
- Notes: all notes related to this contact and their jobs.
- Experience: work experience and education.
- Communication: view and send email or WhatsApp messages.
- Files: job descriptions, briefing documents, terms.
- Tasks: follow-ups, so you never miss one.
Contact tab
- Jobs: all jobs this contact is tagged on.
- Speculative: all candidates presented proactively to this contact.
- Companies: the current and past companies this contact is related to.