

G then A; see all
keyboard shortcuts).
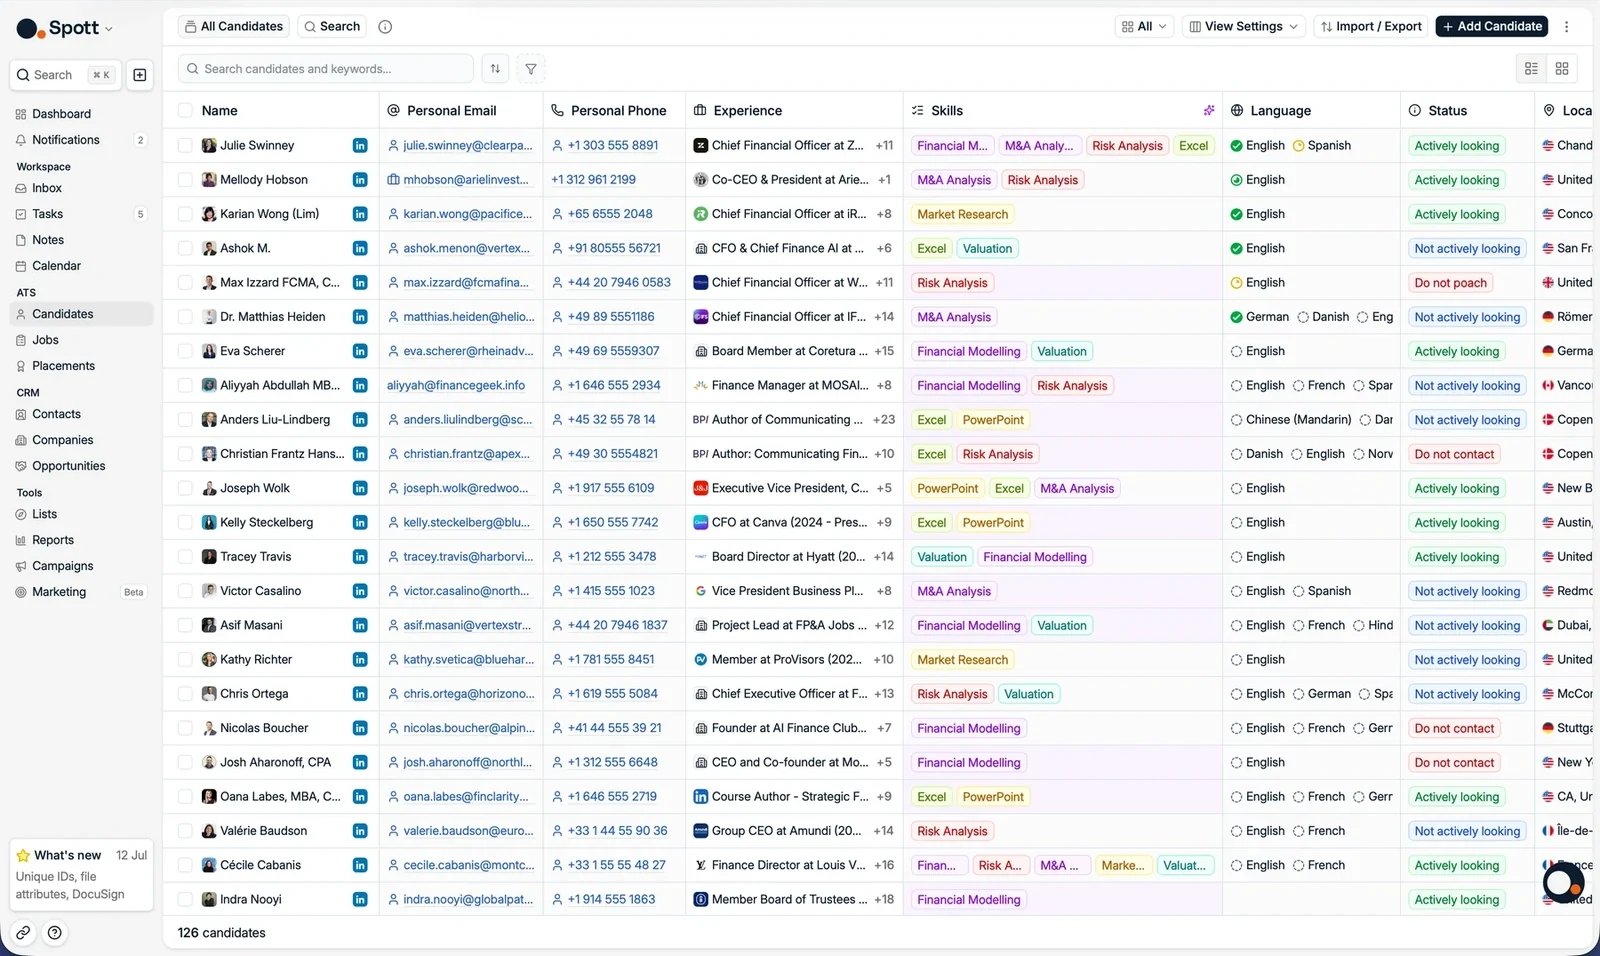
Use the search bar
The search bar sits in the top left of the candidate table. Type a name or keyword to narrow the list as you type.Boolean search
The search bar supports full Boolean queries with AND, OR, NOT, and parentheses. Spott switches to Boolean mode automatically as soon as your query contains double quotes: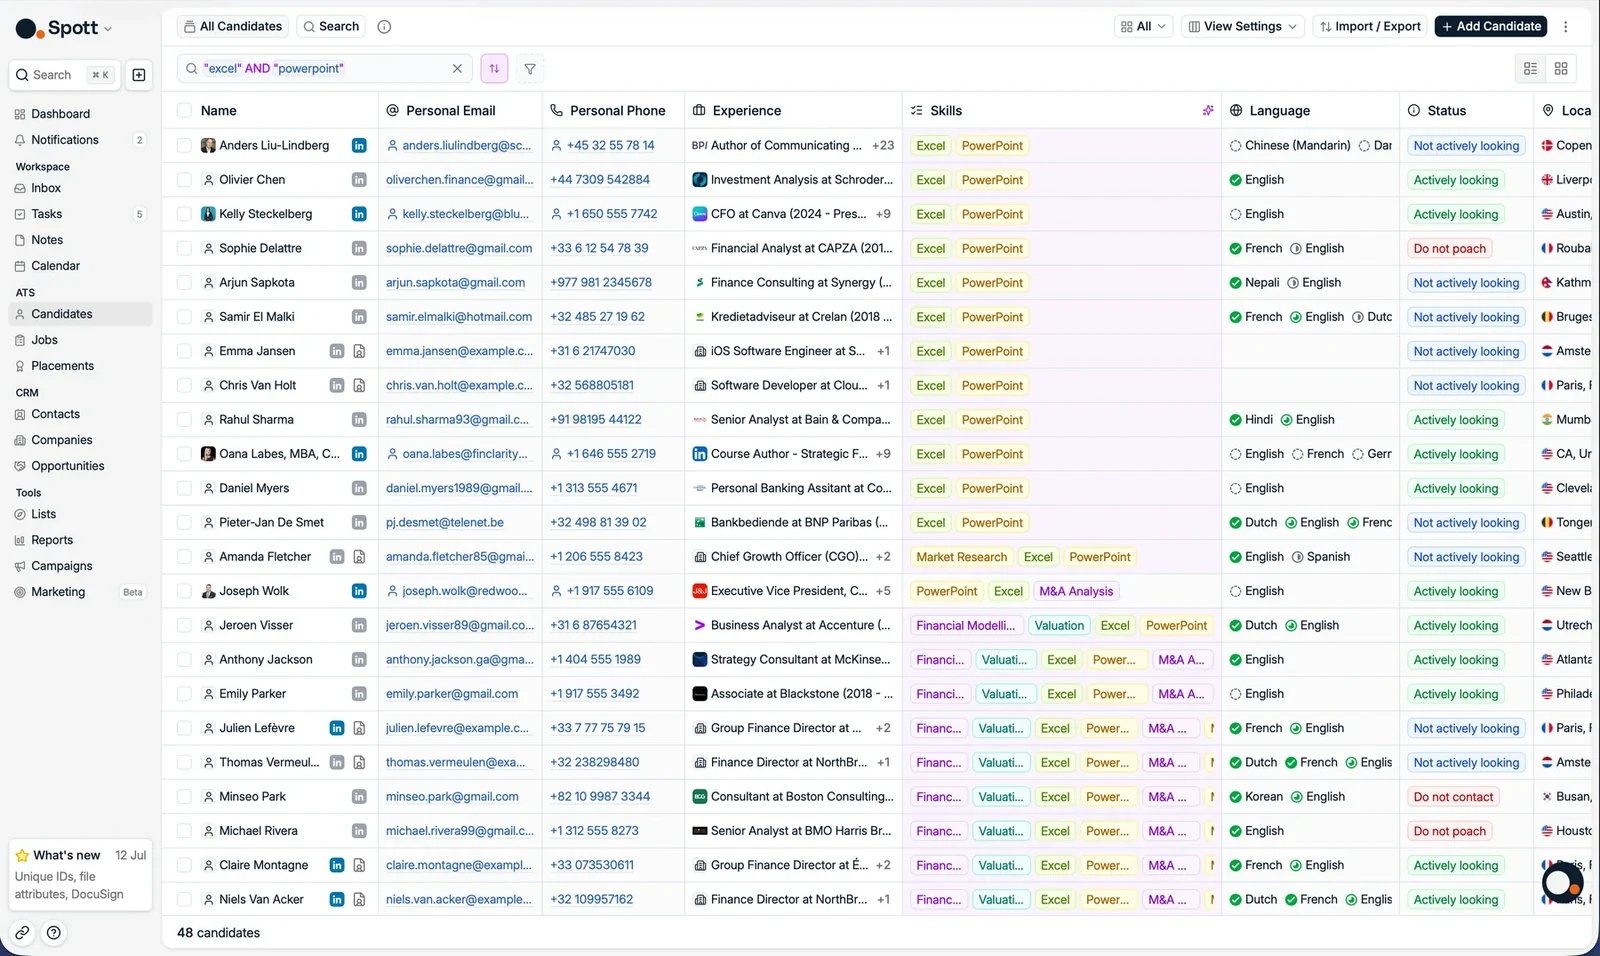
Apply structured filters
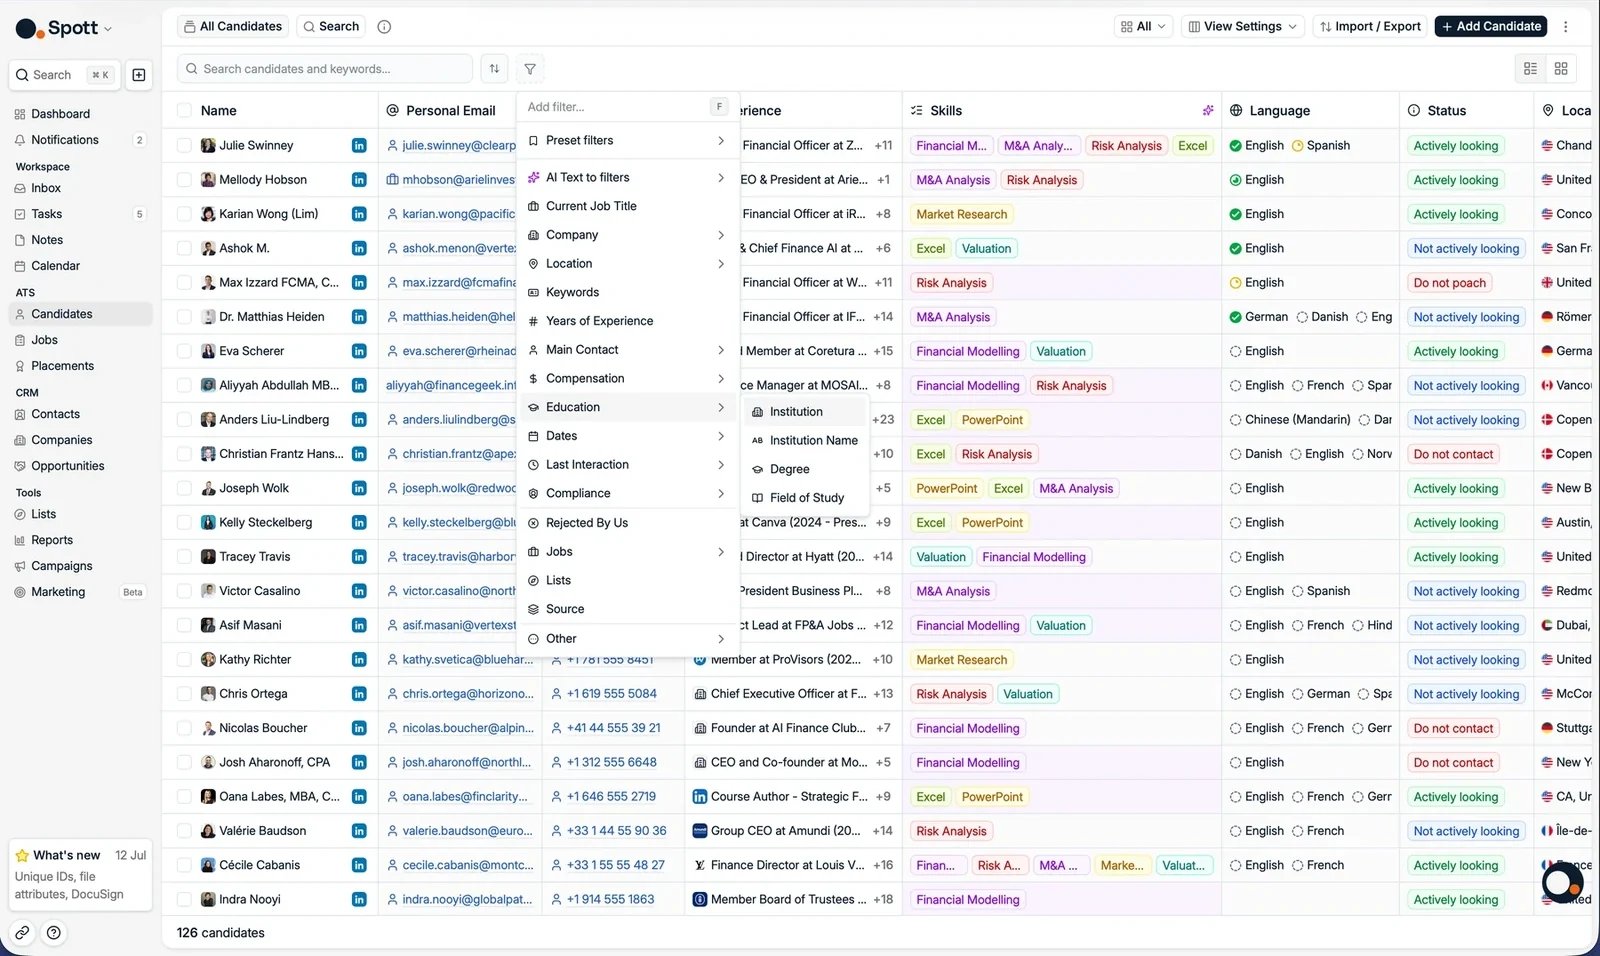
Click the Filters button above the table to add a filter. Filters are grouped by the kind of data they match, including:- Current Job Title, Years of Experience, and Keywords
- Company, with industry and past companies
- Location and Education
- Compensation and Last Interaction
- Jobs, Lists, and Source
- Any custom fields your workspace has configured
- Compliance filters such as consent status, when consent tracking is enabled
- There is no region-level filter. To cover a region, add each country to a Location filter set to match any, and save it as a view to reuse.
- There is no “has received an email” filter. Use Last Interaction to find candidates you have or have not been in touch with recently.
AI text to filters
You do not need to know where each filter lives. Keep typing a description in the filter box, for example “React developer with 5+ years of experience, living in California”, and Spott converts it into filters for you with AI Text to filters.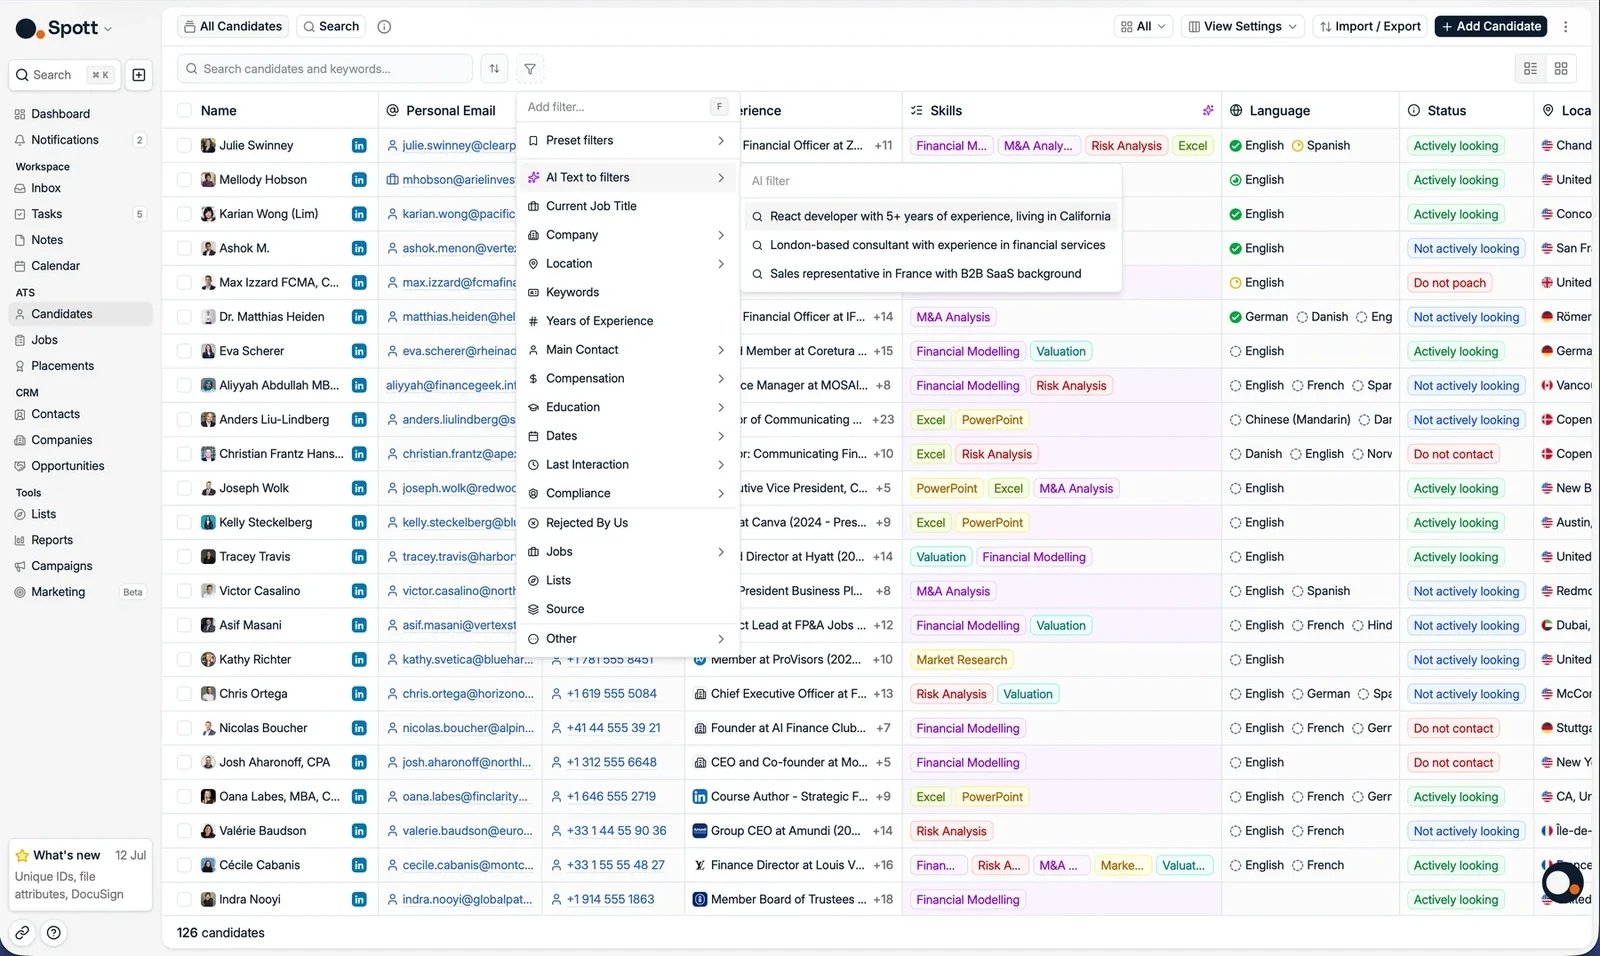
Deep sourcing with the Search tab
Where the search bar and filters match profile fields, Search runs an AI-ranked search across every candidate in your database, including their notes and attachments. Open it from Search under Tools in the left menu, or from the Search tab next to All candidates at the top left of the Candidates page.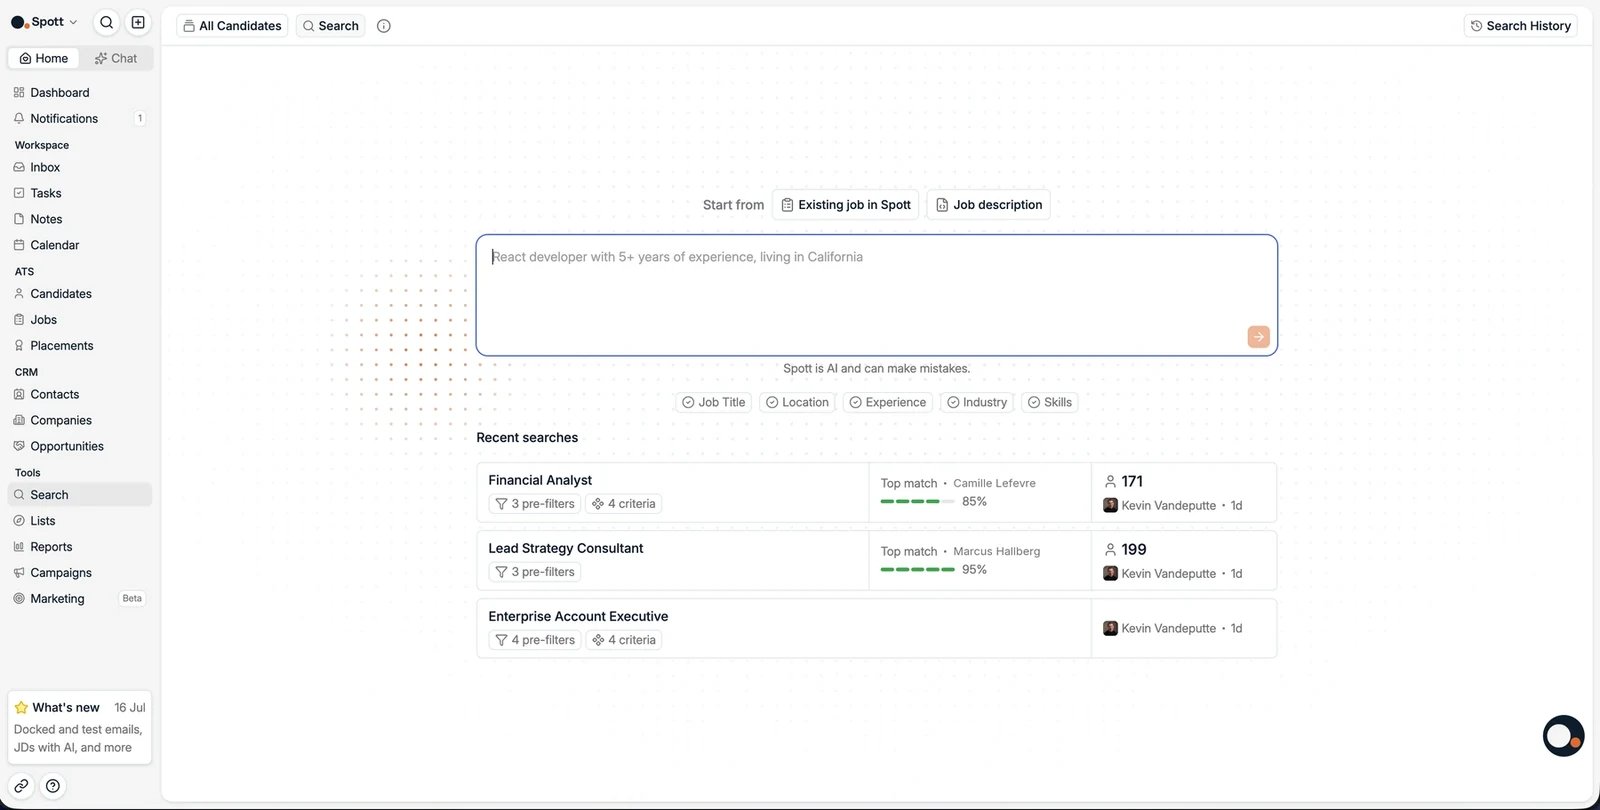
Recent searches and history
Your recent searches sit under the prompt box, each with its pre-filters and criteria, its top match, and the number of candidates found. Click one to reopen it instead of describing the profile again. Search History, in the top right, shows the full list.Reading the results
Search and Matching run on the same engine and return the same result table. How the two halves of a search work together is explained in full there:Filters vs criteria
Why pre-filters narrow the pool and criteria rank what is left.
Read a match score
Scores from 0 to 100, the thumbs rating per criterion, and the reasoning behind them.
Act on the results
Work through the list with the All, To Review, and Reviewed tabs. Tick the candidates you want, and an action bar appears at the bottom of the table.
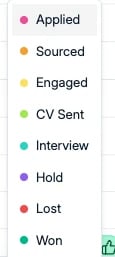
- Accept moves the selected candidates into a pipeline. A stage picker opens so you choose where they land, using the stages your workspace has configured.
- Mark as reviewed moves them to the Reviewed tab, so you can keep working through the ones you have not judged yet.
- Candidate Actions and Communication Actions hold the bulk operations on the selected records.
- Enrich looks up missing emails and phone numbers for the selection. See contact enrichment.
Save filters into Views
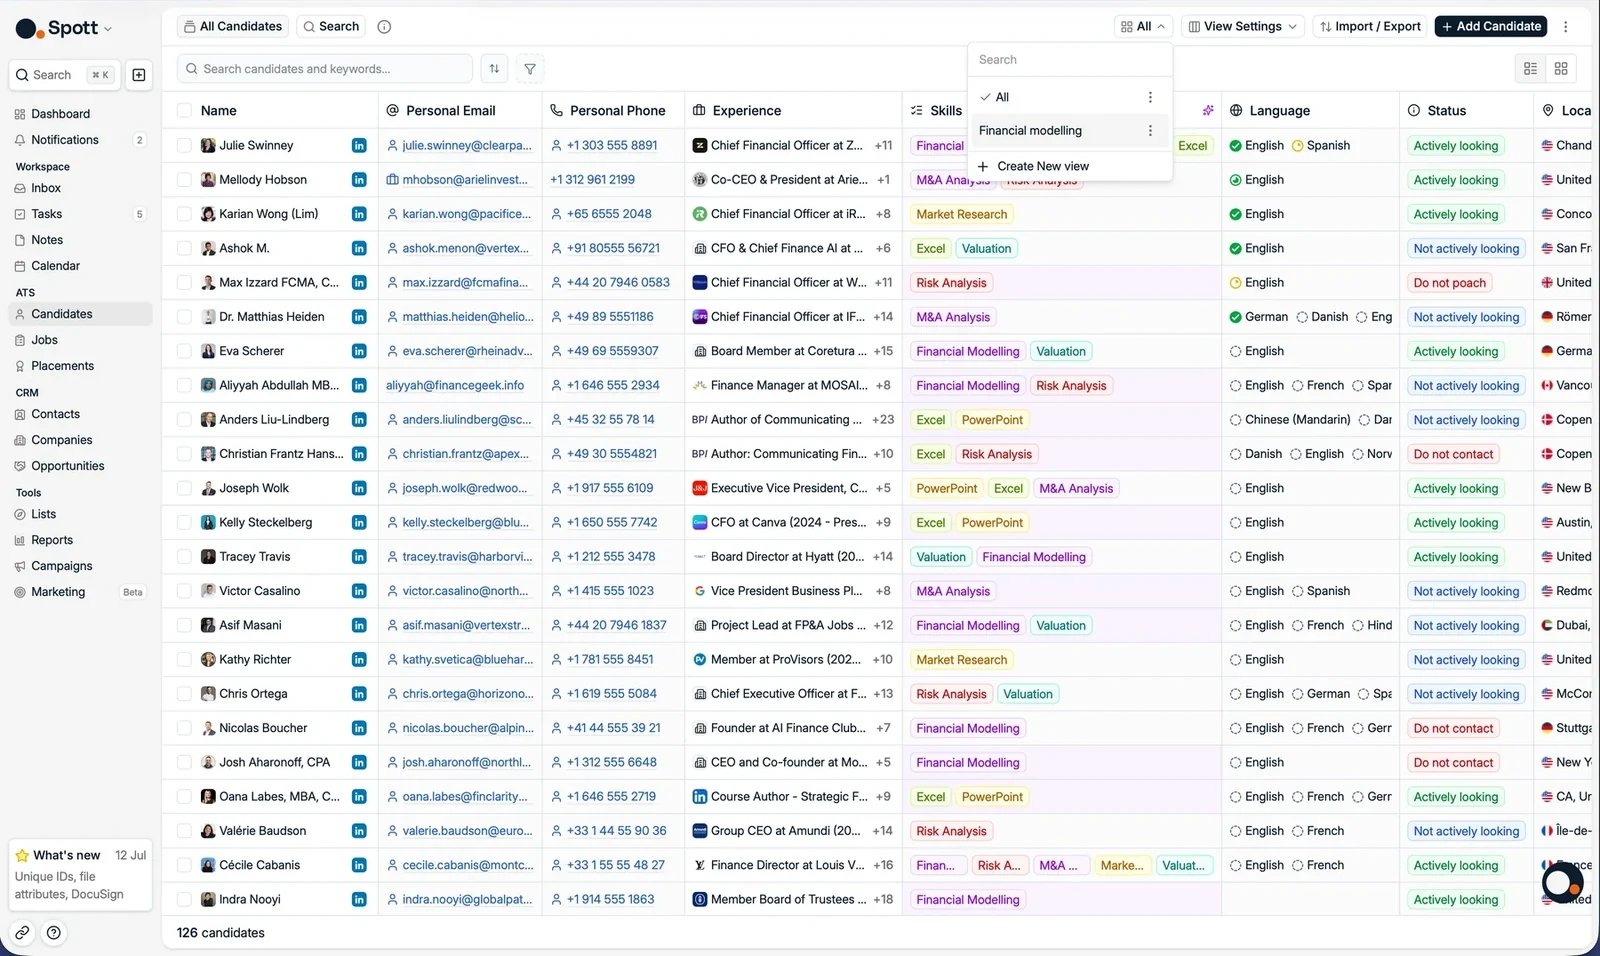
Save a set of filters as a view to come back to it later. You can create as many views as you want:- Click the view picker (it shows All at first)
- Set your filters
- Click Save view
- The saved view is now available from the dropdown
Organize results
- By default the table is sorted by last activity, so recently active candidates come first.
- Sort on any sortable column from its header menu. Sorts are saved as part of the view.
- Results in the Search tab and in matching are always ranked by match score.
- Clear all filters to return to the full candidate list.