

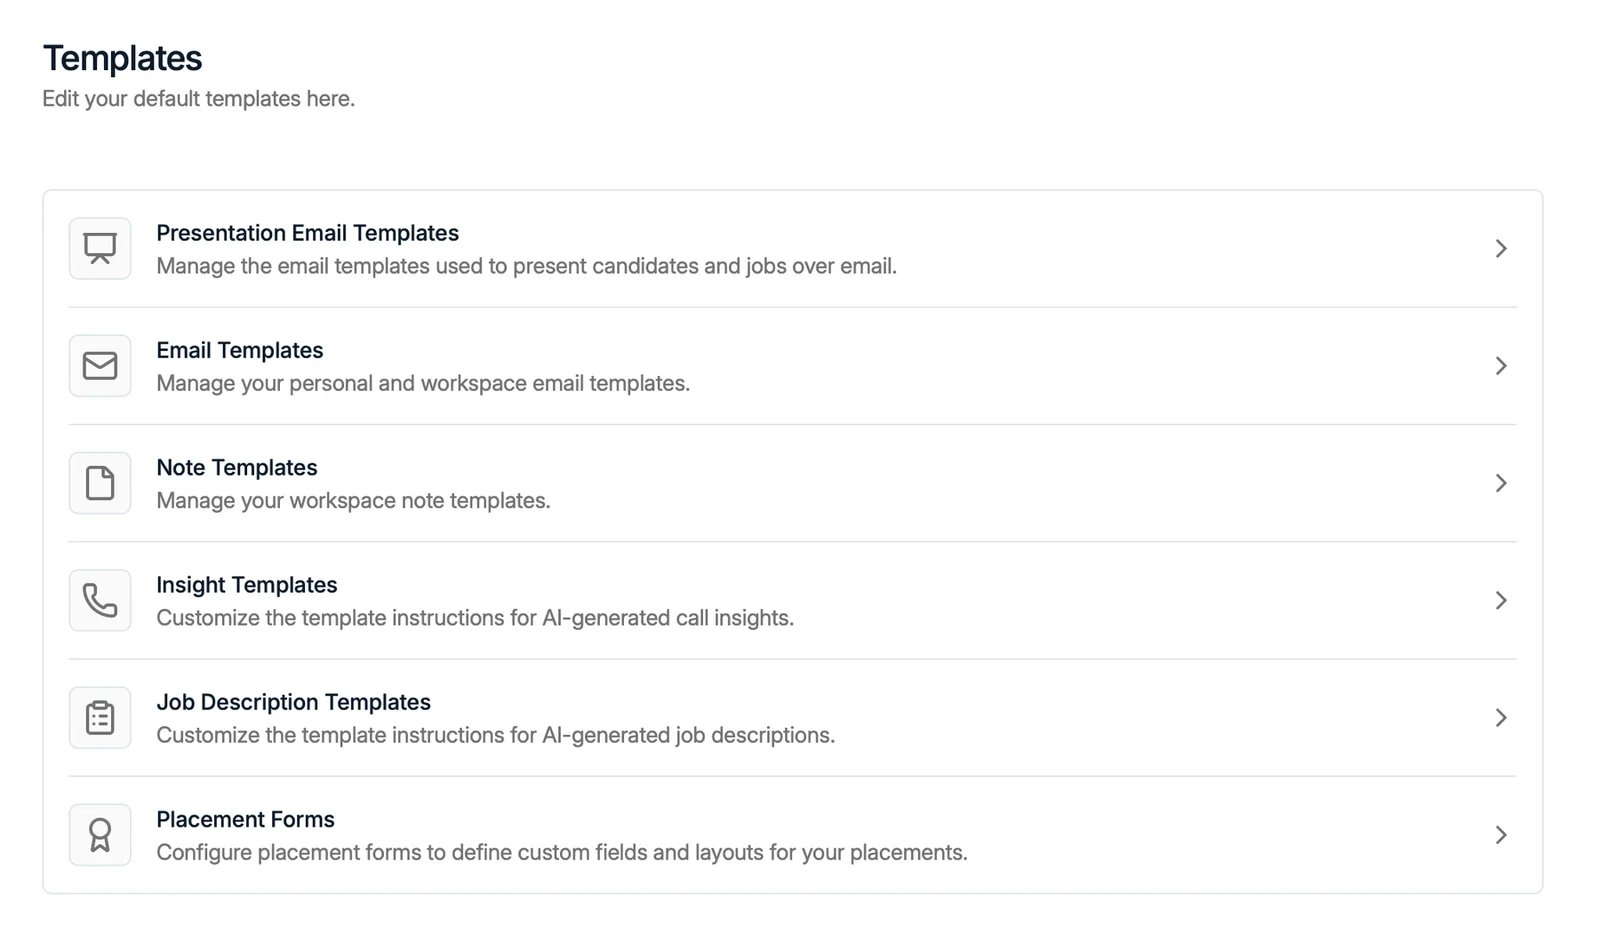
Settings → Templates is where you edit the default templates Spott reuses across the product, so your team stays consistent.
The Templates page with template categories
The available template types are:
  • Presentation Email Templates: the emails used to present candidates and jobs. You pick one of these when you present a candidate to a client.
  • Email Templates: your personal and workspace email templates.
  • Note Templates: reusable note structures for your workspace.
  • Insight Templates: the instructions the AI uses to generate call insights. See Spott Note Taker.
  • Job Description Templates: the instructions the AI uses to generate job descriptions.
  • Placement Forms: define the custom fields and layout used when logging a placement.
Open any category to view, edit, or create templates within it. The Word templates behind formatted CVs and candidate reports are not on this page: they are set up for your workspace by the Spott team. See CV and report templates below.

Insight templates

Insight templates are the ones people underuse, because it is not obvious what they control. They are the instructions behind every automated note: when the Note Taker writes up a meeting, or a call is transcribed, the summary is written to the structure you set here. Change a template and every note written afterwards follows the new one.
The Insight Templates list with the templates configured for a workspace
You are not limited to one. A workspace typically runs a handful, each for a different kind of conversation, for example an intake call, a client meeting, a candidate interview, and a candidate registration.

Spott picks the template for you

This is the part worth understanding. Each template carries a Description, which answers “when should this one be applied”, and the list shows it as Applied when. Spott reads those descriptions and picks the fitting template for the conversation, so you do not choose one per meeting. That makes the description the most important field in the template. Write it as the situation, not as a label: “Use for candidate interviews focused on personality traits, behavioral characteristics, and soft skills assessment” tells the AI far more than “Personality”. Descriptions that overlap heavily make the choice arbitrary, so keep the boundaries between templates clear.

What a template is made of

Click the pencil on a template to edit it. It has a Title, the Description above, and one or more Sections, which you can drag into the order you want the note to read in. Each section carries:
  • Title, the heading that appears in the note.
  • Instructions, the prompt for that section. This is where the real work happens: say what to capture, what to include, and what to avoid. The built-in templates are worth reading as examples, for instance an instruction that ends with “use objective, verifiable language, avoid subjective labels unless the candidate uses those terms”.
  • Length, from short to long, so a section can be a line or a paragraph.
  • Format, for example bullet points or prose.
Sections can hold subsections, and both come in a repeating variant, for when the same block should be produced once per item the conversation covers, such as one block per role discussed.
A section of an insight template with its instructions, length, and format
Use Create Insight Template to add one for a conversation type you run often.
Ask for the fields you will actually reread. A long template produces a long note nobody scrolls through. And because notes feed matching, summaries, and Ask AI, a consistent structure here makes everything downstream of your notes better. See adding notes.

Changing a template does not rewrite old notes

A note keeps the summary it was written with. If you improve a template, or Spott picked the wrong one for a conversation, you can resummarize that note from its transcript against any template you like. See rewriting an automated note.

CV and report templates

Generate CV on a candidate, the Reformatted CV you attach when presenting a candidate, the candidate report, and the shortlist document all come out of a Word template that is configured for your workspace. Send that template once to support@spott.io, and every document your team generates afterwards follows it.

What to send

  • A blank .docx, with your layout, headers, and brand assets in place and no candidate data in it. It has to contain every section you want in the final document.
  • Your formatting rules inside the template: how dates should be written (for example Jan 2024 - Mar 2025), and whether a section should read as long paragraphs, short paragraphs, or bullet points.
  • One filled-in example, a real CV or report in the final layout, fully populated.
  • How much Spott may rewrite: keep the candidate’s exact wording, lightly rephrase and clean up, or freely summarize and restructure.
  • The languages the template must support. The default is English.
Every section in the template is always rendered, so design it without sections that should disappear when they are empty.
The quicker route: email support@spott.io your logo alone (PNG or SVG, transparent background preferred) and your documents use Spott’s default layout with your logo at the top. No template or example needed. Brand colors can be matched on request.

Format requirements

  • Word .docx only. Not .doc, not Pages, not a Google Docs export, not a PDF of the template.
  • Single-column layouts work best. Two-column designs are much harder to populate cleanly, so avoid them where you can.
  • No text boxes, floating frames, or SmartArt. Tables and inline images are fine.

What gets filled in automatically

Only candidate information is filled in. Anything else, such as the recruiter working on the file, the job being applied for, or an internal reference, stays as a placeholder in the document for you to complete. Bullet-point reformatting has limits too: complex or nested bullet styles may not come out exactly as they look in your original template.
Testing a new template? Send your feedback to support@spott.io with the exact candidate you tested on, and point out what is missing, wrong, or should change. The more specific you can be, the quicker we get the template right for you.