

Settings → Accounts is where you connect the external tools you work in, so email, calendar, and messages sync into Spott.

Email & Calendar

Connect a Google or Microsoft account to sync your email and calendar. You can connect more than one account with Connect a second Microsoft account or Connect a second Google account. The account marked Default is the one Spott sends from unless you pick another.
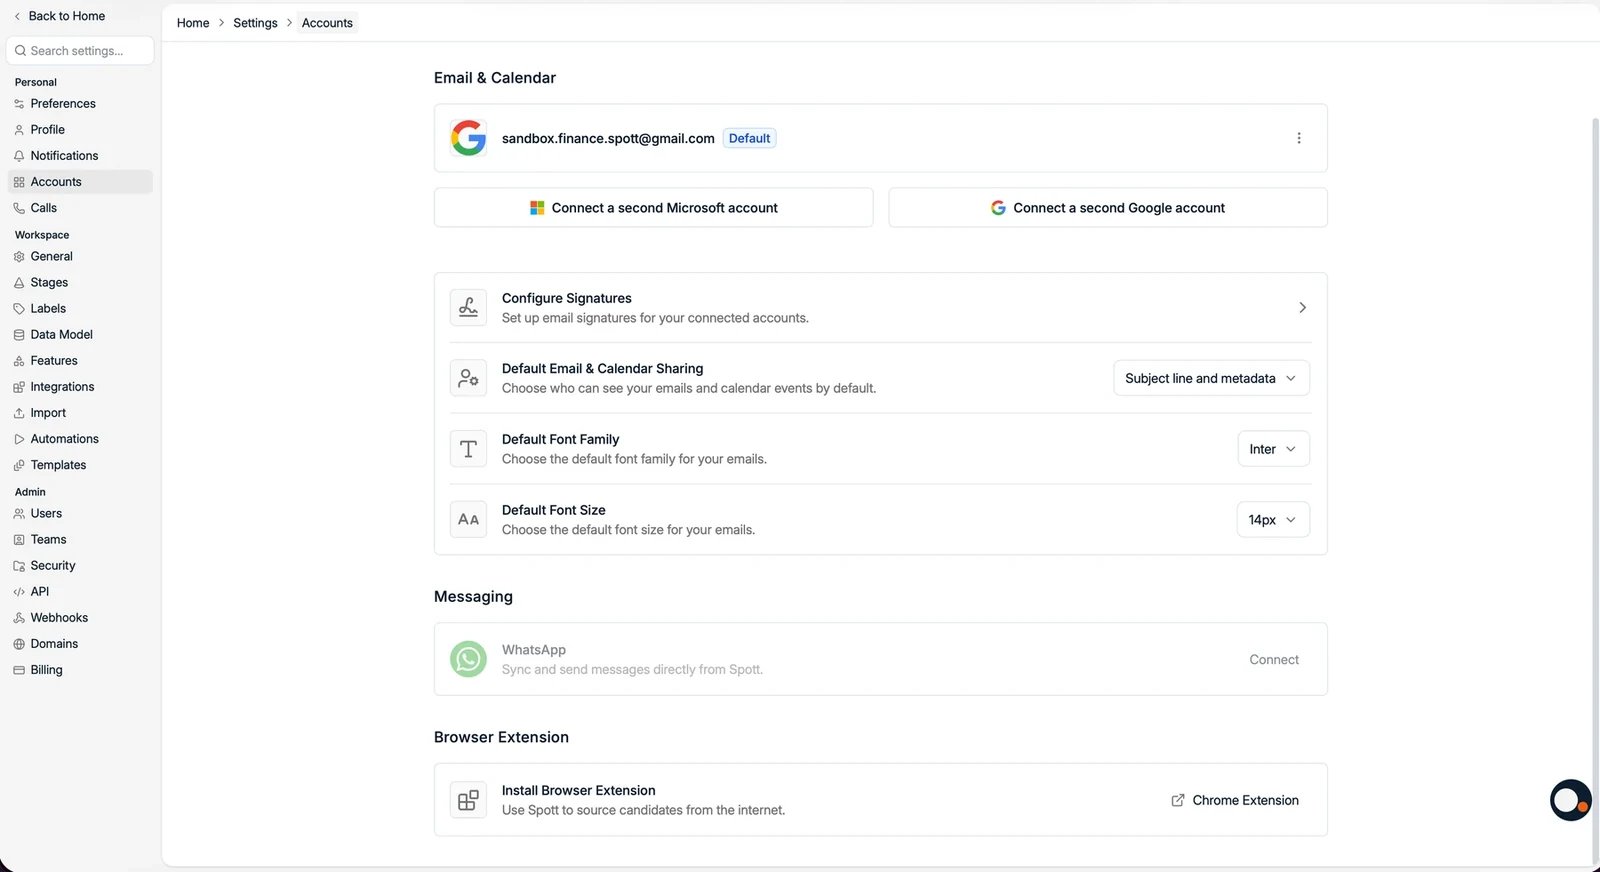
The Accounts page with a connected Google account
Connection problems? Spott requests read and write access to your calendar and email. In enterprise Microsoft or Google tenants, that usually needs IT admin approval, which is the most common cause of connection failures. If you hit an error on the consent screen, ask your admin to approve Spott for the organization.
A generic mailbox such as jobs@ or info@ can be linked to one Spott account only. Campaigns from that address therefore run from that single account.
From the same page you can also set your Default Font Family and Default Font Size for the emails you write.

Signatures

Configure Signatures holds as many signatures as you need for your mailbox, for example a formal one for clients and a short one for candidates. There are two ways to get one in:
  • Add manual signature opens an editor where you write it yourself. Give it a name (Professional, Casual, Client-facing), type / for headings, lists, a table, or a divider, and tick Use as default signature if it should be the one applied automatically.
  • Send signature takes the signature you already use in Outlook or Gmail: send a blank email from your connected address to signatures@spott.io and it appears here within about two minutes. Quicker than rebuilding a designed signature by hand.
The Signatures page with both ways to add one
The signature editor with the default checkbox
Campaigns do not inherit your default automatically: a campaign has its own signature setting.

Email visibility

Default Email & Calendar Sharing controls what colleagues see of your synced mail: Metadata only, Subject line and metadata, or full access. This is a personal setting. It applies to your own mailbox only, so every user has to change it for themselves. Setting it once for the workspace is not possible.
The three sharing levels with what each one shares

Manage account

Two settings live one level down, on the account’s own Manage account page: the blocklist and the daily sending limit. Both are per mailbox. Open the ⋮ menu on your connected account and choose Configure blocklist to get there.
The account menu with Configure blocklist
The Manage account page with the blocklist and the daily sending limit

Blocklist

Add an address or a whole domain, for example spam.com or bad@spam.com. Messages from blocked senders are hidden across Spott and are no longer synced. Changes can take some time to apply. Use it for two things: keeping noise out of the database, and confidentiality. If you want to share your mailbox with colleagues but keep a conversation out of Spott, blocking that sender is how you do it.
The Blocklist page with the Add to blocklist dialog
If a single synced email should not be in Spott, you can also delete that individual email from the mail sync.

Daily sending limits

Emails per day caps how many campaign emails Spott sends from this account in a day. Drag the slider anywhere between 10 and 200. A new account starts at 125. The limit exists to protect the mailbox: the lower you set it, the smaller the risk that your provider restricts the account for sending too much. A brand-new mailbox, or a shared one such as jobs@, is worth keeping well below the default; an established sender can carry more.

Messaging

Connect WhatsApp to sync and send WhatsApp messages directly from Spott. See the WhatsApp integration. SMS runs on your VoIP numbers rather than a mailbox, so it is set up with your telephony provider. See SMS in Spott.
The Messaging section with WhatsApp

Browser Extension

Install the browser extension to source candidates from the internet. It works on Chrome and Edge only. See the browser extension guide for how to use it.