

1. Open the Data Model settings
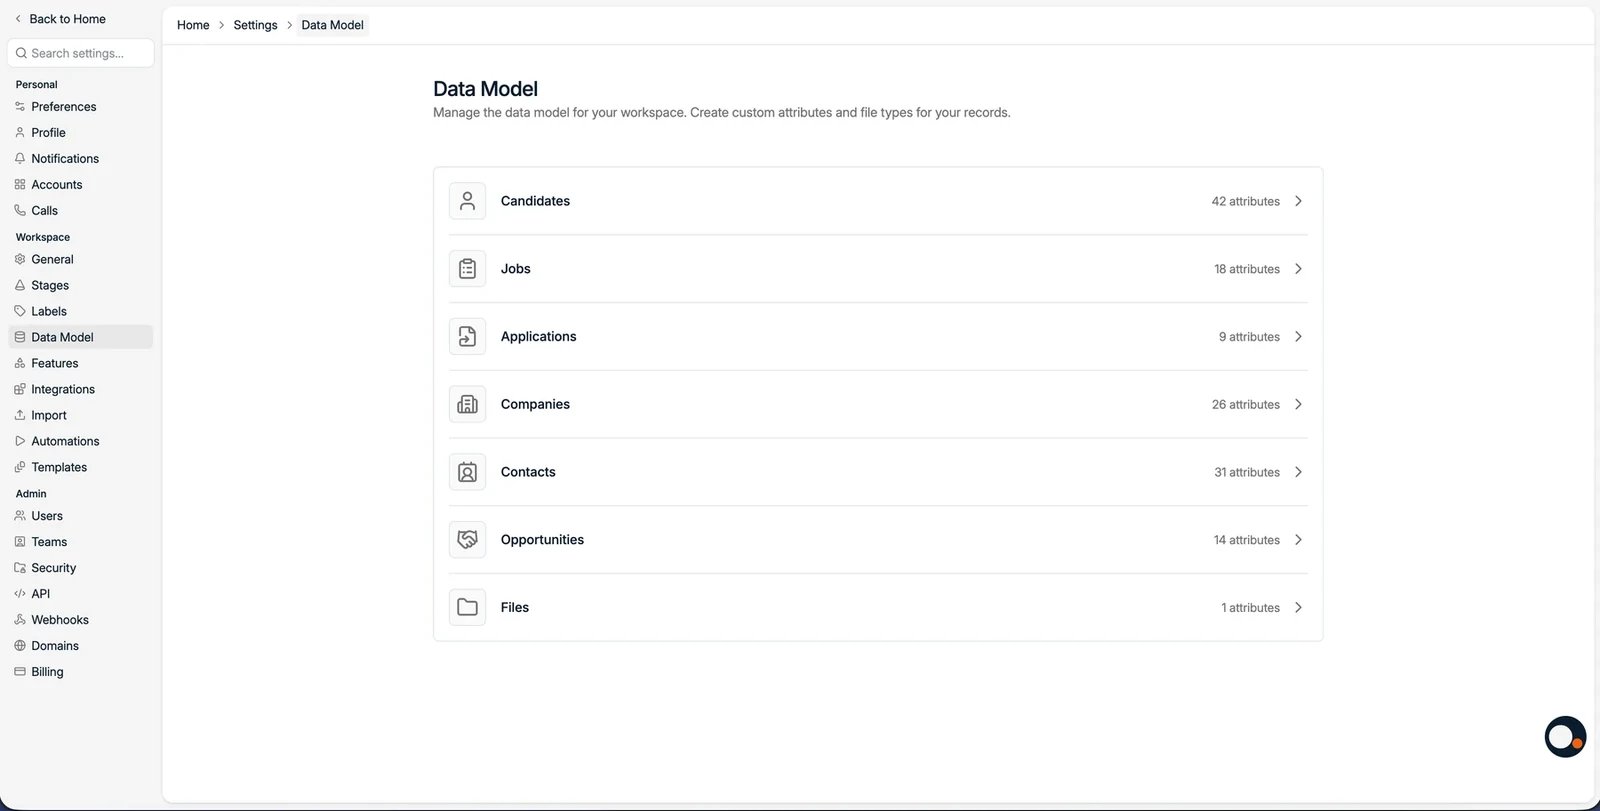
- Go to Settings.
- Under Workspace, open Data Model and pick the record type you want to create a custom attribute for.
2. Create custom attributes
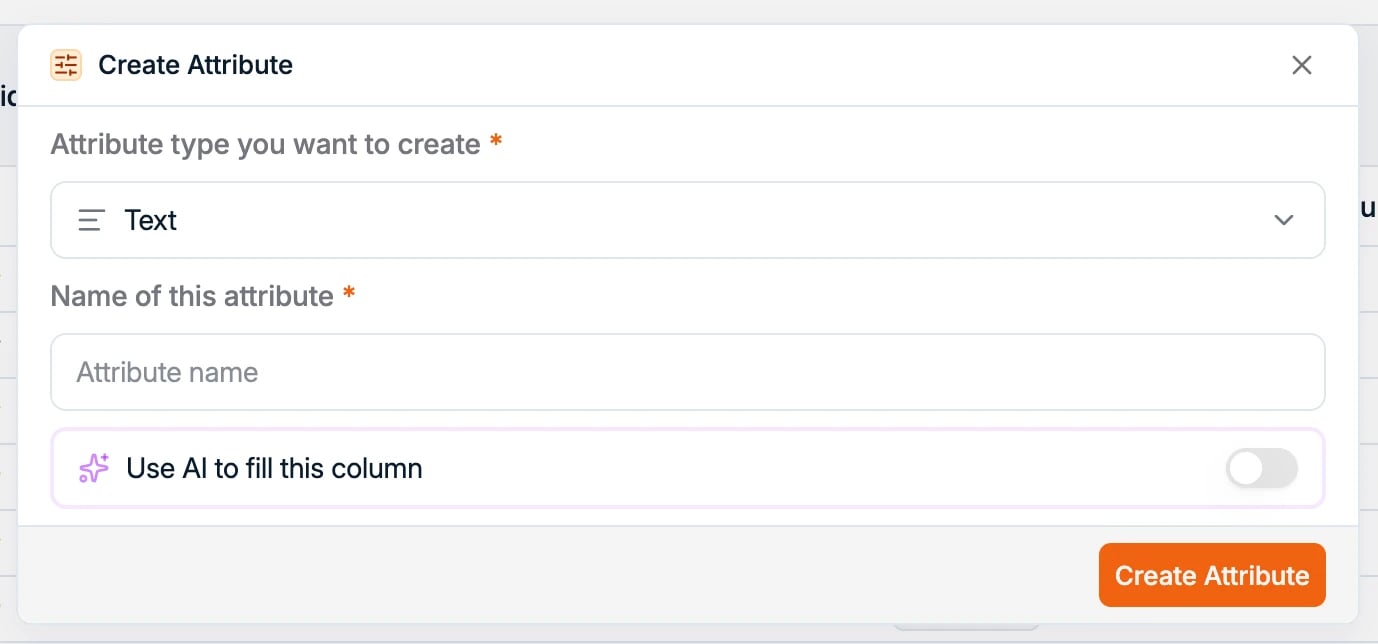
Click Create your own attribute and choose the data type:- Text: free text input
- Number: numeric values
- Checkbox: a yes or no answer
- Select: pick one option from a list
- Multi-select: pick one or more options from a list
- Date: date fields, for example an availability date
- Rating: a score, which you can also filter on
- Currency: monetary fields
- URL: a web link
- Entity and Multi-entity: reference one or more users
Built-in System attributes (such as Location, Personal Email, or Language) are
managed by Spott. You can star and reorder them, but you cannot rename them, change
their type, or delete them. Only attributes you create can be edited or removed, and
an attribute’s type is fixed when you create it and cannot be changed afterward.
Attachments support custom attributes too, along with shared file types across
records, for example contract or certificate types with expiry dates. Configure
them in the same Data Model section. Everything is also accessible via the API.
AI-filled columns
When creating an attribute, you can enable AI autofill. The system then populates the attribute automatically based on the record’s profile and CVs, following the prompt you write. See setting up AI-filled columns. Examples:- Age calculation based on graduation dates
- Skills extraction from CVs
- Category matching based on candidate profiles
Use and manage custom attributes
Once created, custom attributes are directly usable across Spott. You can:- Fill in values directly in the table or on the record’s profile
- Show custom attributes as columns and reorder them via View Settings
- Filter and search on custom attributes
- Star an attribute so it shows by default on records; unstarred attributes stay available under Show all values