

Views save a table configuration: filters, sorting, visible columns, their order, and widths. You access saved views from the dropdown in the top-right corner of a record list, which shows Default View until you create your own.

Open a record list

Views are supported on these record tables:
  • Candidates
  • Jobs
  • Companies
  • Contacts
  • Opportunities

Apply filters and sorting

The save / discard prompt after changing a view
Use the Filters button to narrow down your list (for example by stage, location, or activity date), adjust sorting, and configure columns via View Settings. When you change something on the current view, a save / discard prompt appears at the top of the table. Changes only stick after you save them.

Create a new view

  1. Click the current view name in the top-right corner (for example Default View).
  2. From the dropdown, select + Create New view. The new view starts as a copy of the one you are on.
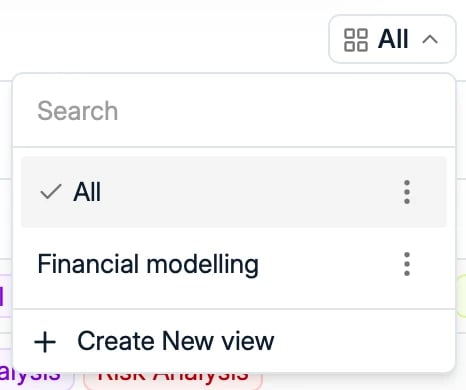
The view picker with Create New view
  1. Give your view a name, for example Law, Recent Activity, or Open Roles in UK.
Your filters, sorting preferences, and visible columns are all saved in the view.

Access your saved views

Your custom views appear in the same dropdown. Click a view name to switch instantly between saved configurations. You can create as many views as you like, each tailored to a specific workflow or segment.

Edit or delete existing views

  1. Open the dropdown again.
  2. Click the three dots next to a saved view to rename or delete it.
Deleting a view only removes the saved configuration. Your underlying data stays safe. Views are personal: other users in your workspace create and manage their own views independently.