
The Company Portal is a secure space where your clients can view their open roles, track candidate submissions, and collaborate with your team. It reduces back-and-forth communication and gives clients real-time visibility into the hiring process. The portal carries your branding, not Spott’s: the logo, colours, and privacy policy you set once in Settings → Workspace & Branding apply to it like they do to your job board. Your client sees your company, not ours. See workspace and branding.

Access a job’s Company Portal tab
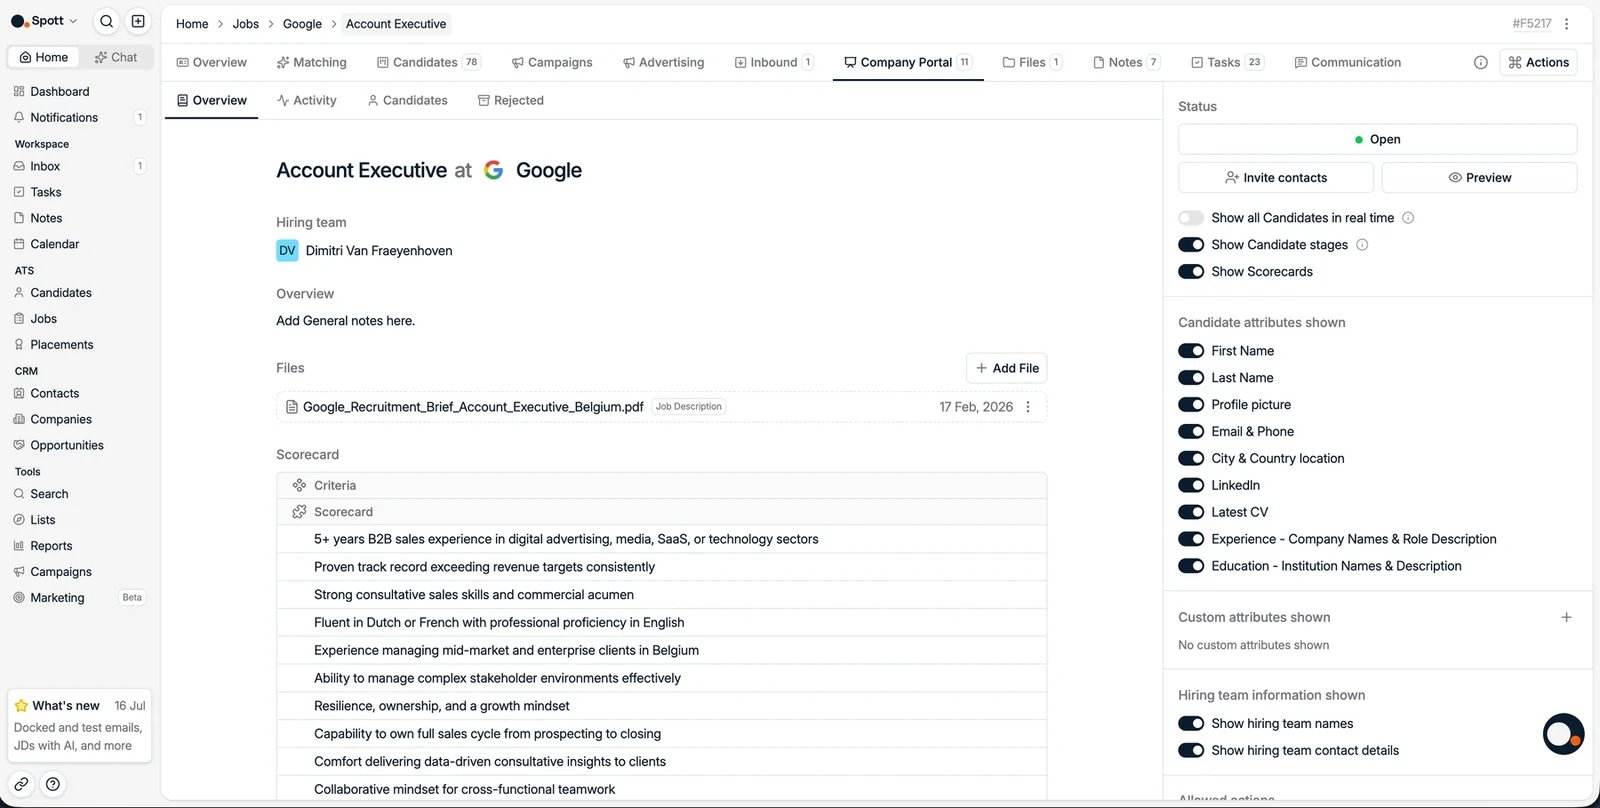
In Spott, go to Jobs, open the job, and click the Company Portal tab. Inside, the subtabs show the portal Overview, client Activity, published Candidates, and Rejected candidates.

Publishing candidates

The Company Portal tab with published candidates
You control exactly who is visible to the client:
  • Publish a single candidate with Publish on portal.
  • Publish in bulk from the job’s pipeline: select candidates with the checkboxes and choose Add to company portal.
  • Publish automatically by stage: with Show all candidates in real time enabled, configure which pipeline stages trigger publication. Candidates are then shared with the client as soon as they reach the right stage, with no manual publishing one by one.

Portal controls

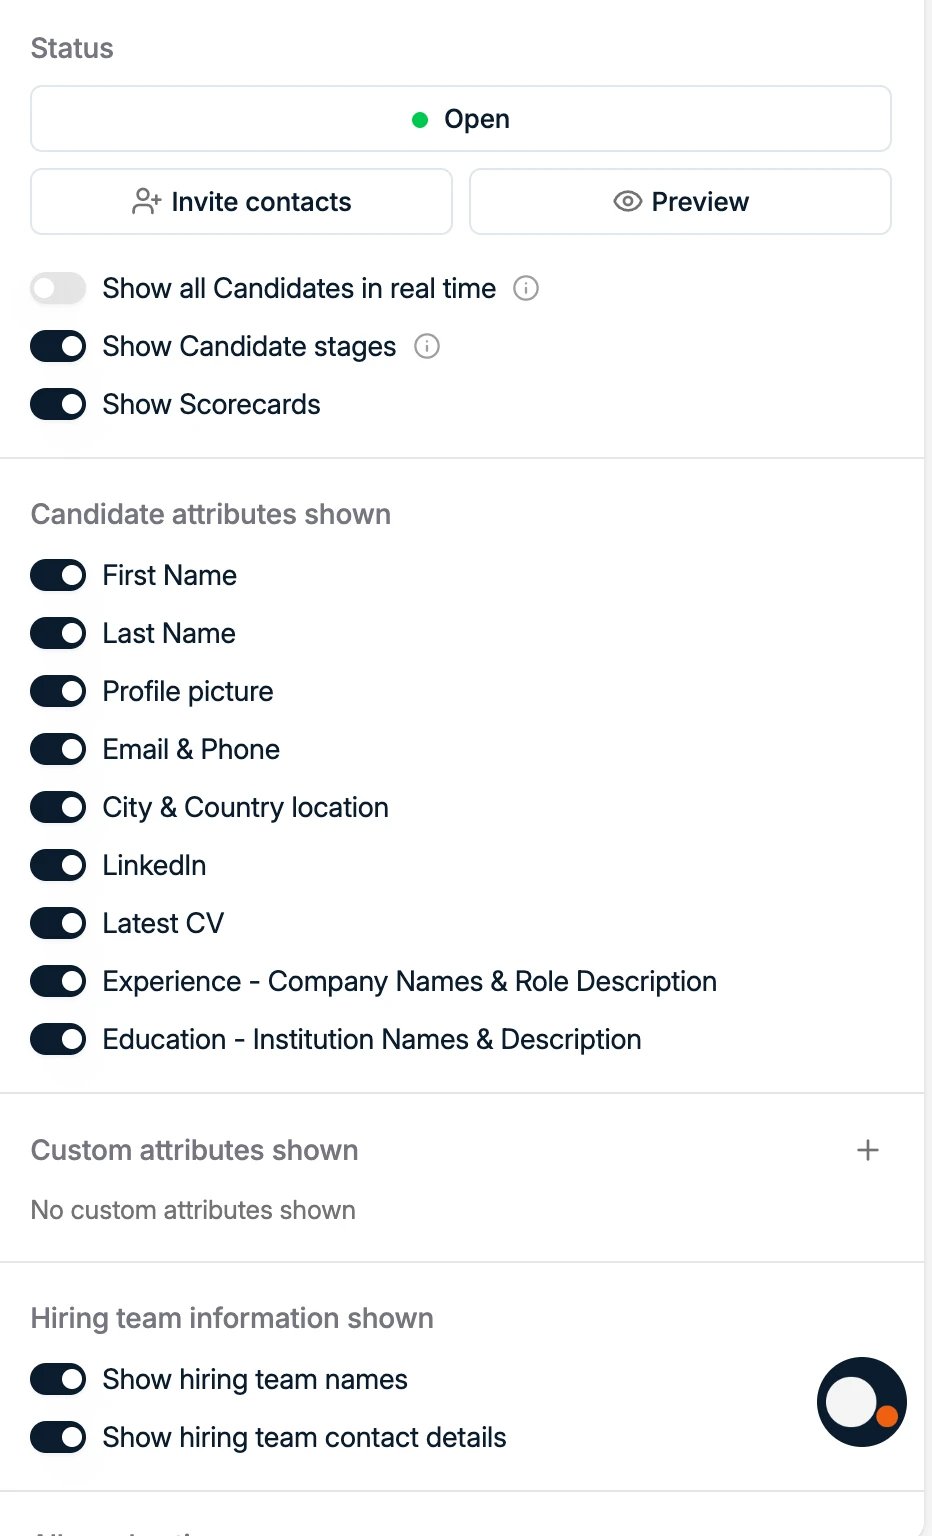
The portal controls with visible fields and invites
On the right panel you can:
  • Open or close the portal with the status toggle.
  • Invite contacts: pick the client contacts who should have access. Each one gets an automated email with their personal access link to the portal, so nobody shares a password and you can see who has been given access.
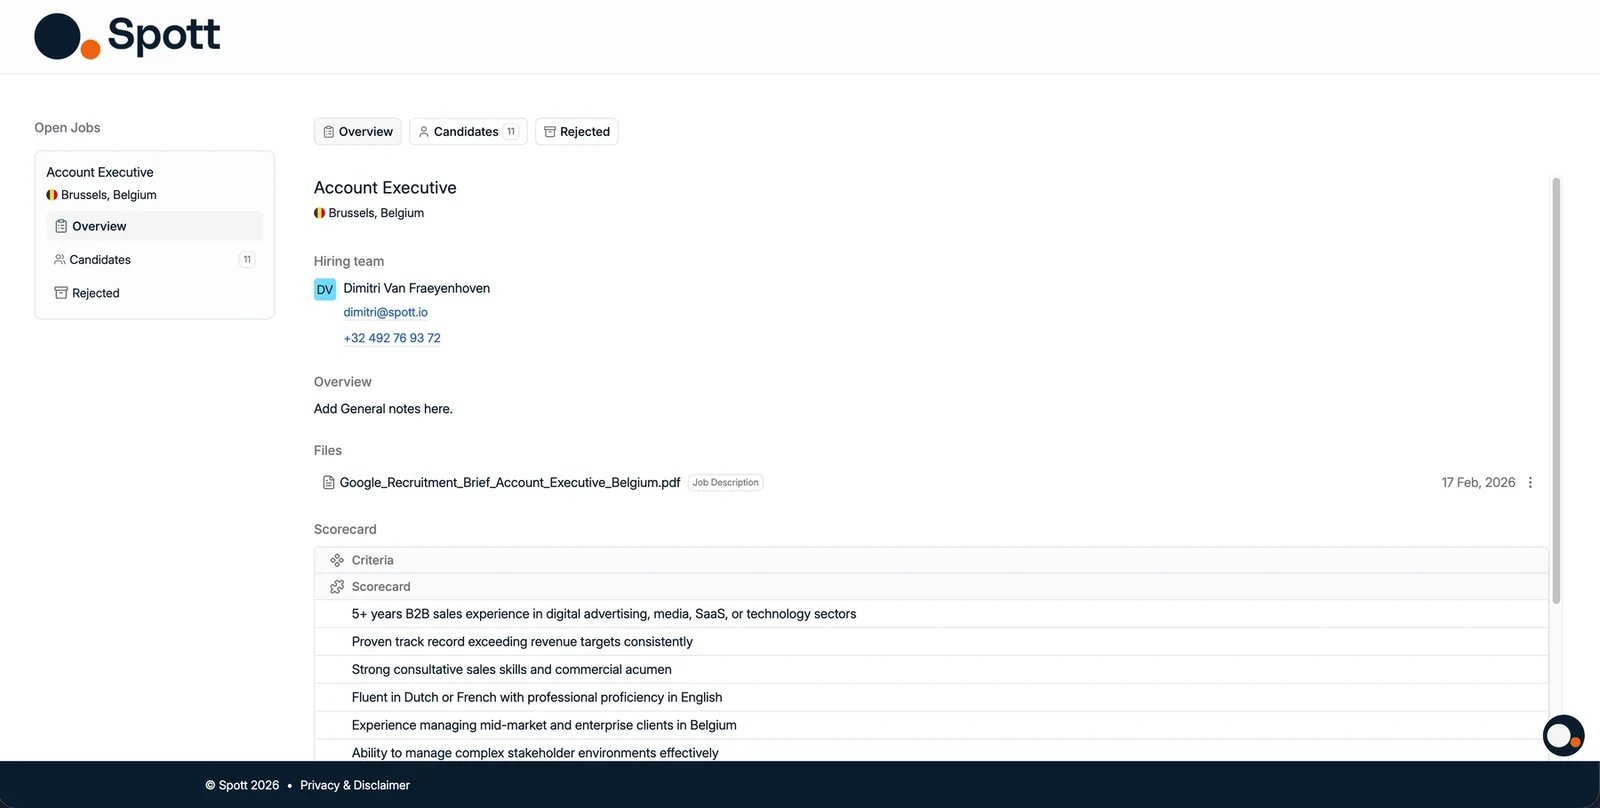
  • Preview the portal to see exactly what your client will see.
  • Toggle Show all candidates in real time so newly added or updated candidates appear for the client automatically, rather than a fixed snapshot. A stage selector sits under it, so you decide which stages publish; early stages such as a long list can stay internal while later ones share automatically.
  • Show or hide the hiring team names and their contact details.
  • Choose exactly which candidate attributes the client sees, one toggle each.

What the client can see about a candidate

These toggles are set per job, not once for the workspace, and several of them expose personal data about a candidate to a third party. Check them before you invite anyone to a new portal rather than assuming they carry over from the last one.
An admin can set the starting position of every toggle on this page, and attach files such as your Terms of Business automatically, under Settings → General → Company Portal Defaults. New portals then open already configured the way your team works, and you adjust from there rather than from scratch. Above the attribute list: Rejection detail is worth a deliberate choice. Left off, a client sees only that an application is closed, and the follow-up question arrives by email. Switched on, the rejection label and reason you recorded internally are visible to them, which answers the question before they ask it but also puts your internal wording in front of the client. Make sure your rejection labels read like something you would say to them. Then one toggle per attribute:
The four in bold are the ones worth a deliberate decision. A client rarely needs a candidate’s date of birth, gender or nationality to judge a shortlist, and in several jurisdictions sharing them invites a discrimination claim you cannot easily defend. Any custom attributes on the record can be published too, so check those as well.
The portal visibility panel, with one toggle per candidate attribute
Only contacts registered under the company associated with the job can be invited to the portal.
Clients can view candidates, leave comments, and request an interview. They cannot move candidates between stages, reject candidates, or bulk-export files. Those stay with your team.

What your client does in the portal

What the client sees in the portal
The client opens the portal from their personal link and sees the candidates you published. Clicking a candidate opens their profile, which is where the work happens.
A candidate as the client sees them, with the rating scale, interview request, and comments
On that profile the client gets:
  • Status, showing when the candidate was added and last updated, whether they are still in process, and their current stage, with a progress bar of how far through the pipeline they are.
  • Feedback, a 1 to 5 rating. This is the “impression” that shows up in your activity feed, so a score here is the fastest signal you will get that a client has actually read someone.
  • Request Interview, which tells you they want to meet the candidate without a mail thread about it.
  • Conversation, a comment box on that specific person. Comments from your team and theirs sit together, so the discussion about one candidate stays in one place.
They can also add files of their own, for example a signed job description or feedback from an internal interview. Everything they add stays on the candidate. The current role shown for each candidate comes from their most recent experience entry, so correcting it means updating that experience on the candidate rather than anything in the portal. Beyond the visibility toggles above, the fields the portal shows are fixed.
To check what a client sees, open their portal link in a private or incognito window. Opening it while signed in to Spott shows you what your own Spott user can see, which includes jobs from other companies and looks like a serious leak until you notice the cause.
When a client replies in the portal, everyone assigned to the job is notified. A Request Interview raises a notification and nothing more: no calendar invite is created, so you still schedule and send the invitation yourself, and that is the moment to add any colleagues who should be in the room.

Track what the client is doing

The Activity subtab is a running log of what your client has done in the portal. Each entry names the person, the action, and the candidate it applies to:
  • Invited to the portal, so you can see who was given access and when.
  • Accessed the portal, so you know the invitation was actually used.
  • Left a comment on a named candidate, with the comment text inline.
  • Left impression on a named candidate, with the score they gave.
Scroll down the right-hand side of the portal tab for the shorter version of the same question: which of your invited contacts have opened the portal and which have not.
The company portal Activity subtab

Views are recorded per candidate

Opening a candidate’s profile is recorded as a view, shown on that candidate’s page in the portal rather than in the job-level feed. There is no roll-up across candidates yet, so seeing who was read means opening the candidates one at a time. A client scrolling the published list does not count. The view is logged when they click into the profile itself, which makes it a real signal that someone was considered rather than merely listed. Every view is recorded, not just the first one. A contact who comes back to the same candidate a third time before a decision is telling you something, and that repeat interest now shows up rather than being collapsed into the single visit they made on the day you published.

Workflow

  • Select which candidates to publish.
  • Configure the visible fields to show or hide details.
  • Invite the client contacts who should have access.
  • Track their feedback and activity from the Activity subtab.

New to this? Start with the guide

Manage jobs in the Get Onboarded guide. Publishing candidates, client access, and reading the activity feed, in the flow of running a job.