

- Sync your Xero items into Spott as pay codes, so line items use the same codes, prices and descriptions as in Xero.
- Link a Spott company to its Xero contact once, so every future invoice goes to the right billing entity.
- Create draft invoices from contingent, contract and retained placements, including invoices built from approved timesheets.
- See at a glance which placements are invoiced, which invoices are still drafts, and which are paid.
Before you start
Check that three things are in place before your team creates its first invoice:- A Spott admin has connected Xero. It is connected once for the whole workspace.
- Your Xero items are set up. Spott imports them as pay codes, with their codes, descriptions and default prices.
- Your billing contacts exist in Xero. Each Spott company is linked to an existing Xero contact. You cannot create Xero contacts from Spott yet, so add any missing ones in Xero first.
Connect your Xero organization
- Go to Settings → Integrations and select Xero.
- Connect your Xero account and choose the Xero organization to link.
- Check the organization row. It shows the name of the linked organization and Connected.
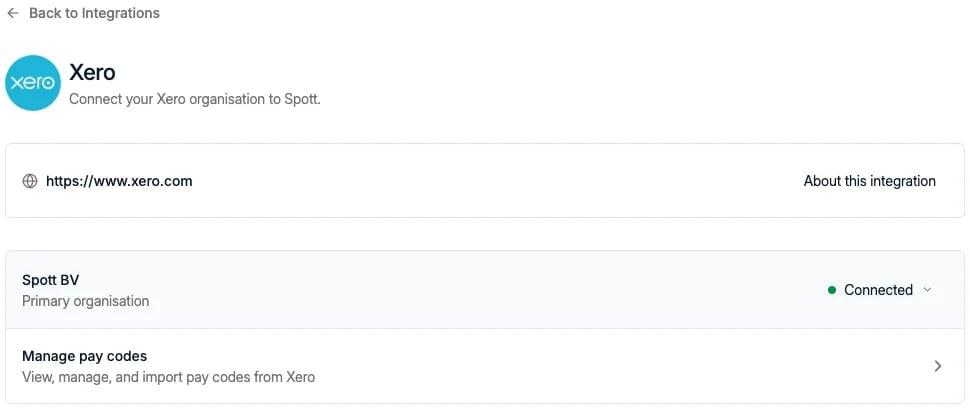
Only workspace admins can connect this integration. A Xero account is required.
Sync pay codes from Xero
Pay codes are the items you bill for, such as a permanent placement fee or an hourly development rate. They come from your Xero items.- On the Xero integration page, open Manage pay codes. You can also go to Settings → Templates → Rate Card Templates → Pay Codes.
- Click Sync pay codes to import the latest item codes from Xero.
- Imported codes appear in the list with a Xero label, alongside their description.
Move a Spott pay code to Xero
If you created a pay code in Spott and now want to invoice it through Xero:- In Xero, create an item whose code matches the Spott pay code exactly, including
capitals and spaces.
OTandotare treated as different codes. - Back in Spott, click Sync pay codes again.
Description templates
A pay code’s description becomes the line description on the invoice. Instead of fixed text, you can write it as a template that fills in details from the placement. This works for every pay code, including ones synced from Xero: open a Xero pay code in Spott and add variables to its description.- Open a pay code and click in the Description field.
- Type
{and pick a placement variable, such as first name, last name, company or start date.
Placement of { First name } { Last name } at { Company }, starting { Start date }
becomes Placement of John Doe at Acme, starting 2024-02-01 on the invoice.
- Only placement variables can be used.
- A description without variables is used as written.
- If one invoice covers several placements, the variables cannot be filled in and the line reads N/A. Edit that line by hand before sending.
Your template is kept in Spott only; the item in Xero keeps its own description. Once you
edit a pay code’s description in Spott, syncing from Xero no longer overwrites it. To go
back to the Xero description, clear the field and sync again.
Link companies to Xero contacts
Each Spott company is billed through a Xero contact. You can link it ahead of time from the company record, or the first time you invoice that company.- Open the company in Spott and click External Links.
- Click the + next to Xero.
- Pick the Xero contact from the dropdown.
Create your first invoice
Invoicing with Xero walks through invoicing contingent, retained and contract placements,
including rate cards and timesheets, and following each invoice’s status once it is in Xero.