

- Connect your RSM InTime account once for the whole workspace.
- Publish a placement to RSM InTime straight from the placement record.
- Review and complete the client, contact, candidate, consultant, placement and rate details before they are sent.
- Run timesheets and invoicing in RSM InTime using the data that came from Spott.
Connect RSM InTime
An admin connects RSM InTime once for the whole workspace. After that, any consultant can publish placements.- Go to Settings → Integrations and select RSM InTime.
- Click Connect and sign in with your RSM InTime account credentials.
- Once you are signed in, the Workspace row shows Connected.
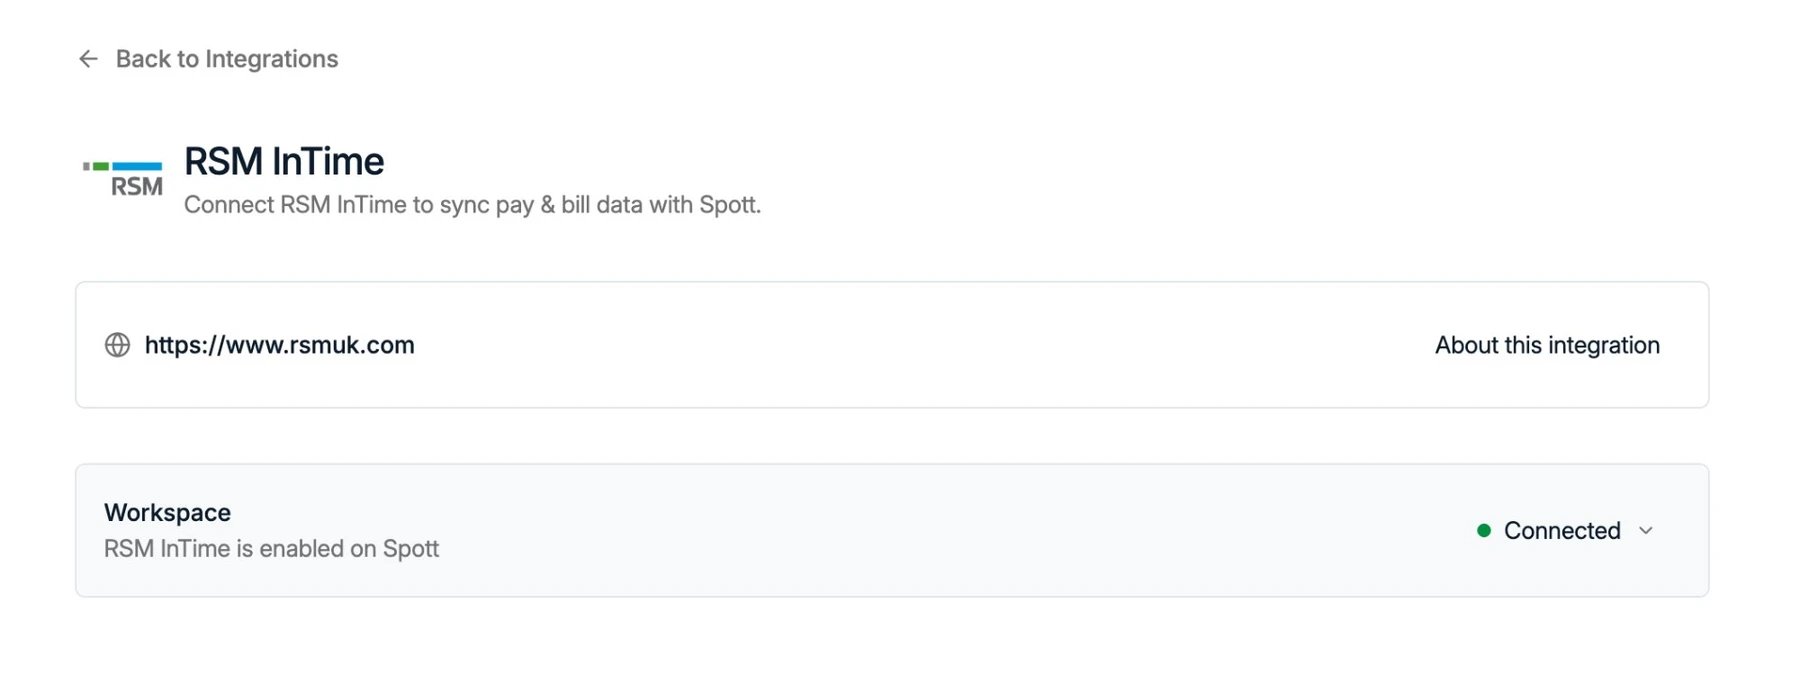
Only workspace admins can connect this integration. An RSM InTime account is required.
Publish a placement
You publish from the placement record. Spott opens a form prefilled with what it already knows about the placement, and you fill in anything RSM InTime needs that is not in Spott yet.Start the publish
- Open the placement.
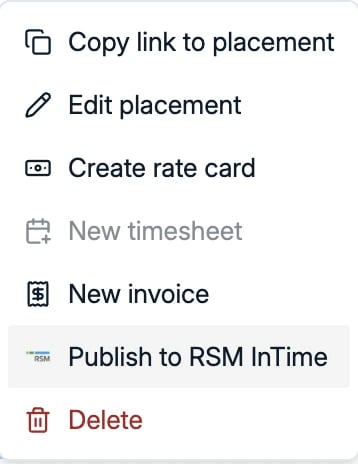
- Click the ⋮ menu at the top right of the Placement card.
- Choose Publish to RSM InTime.
Complete the form
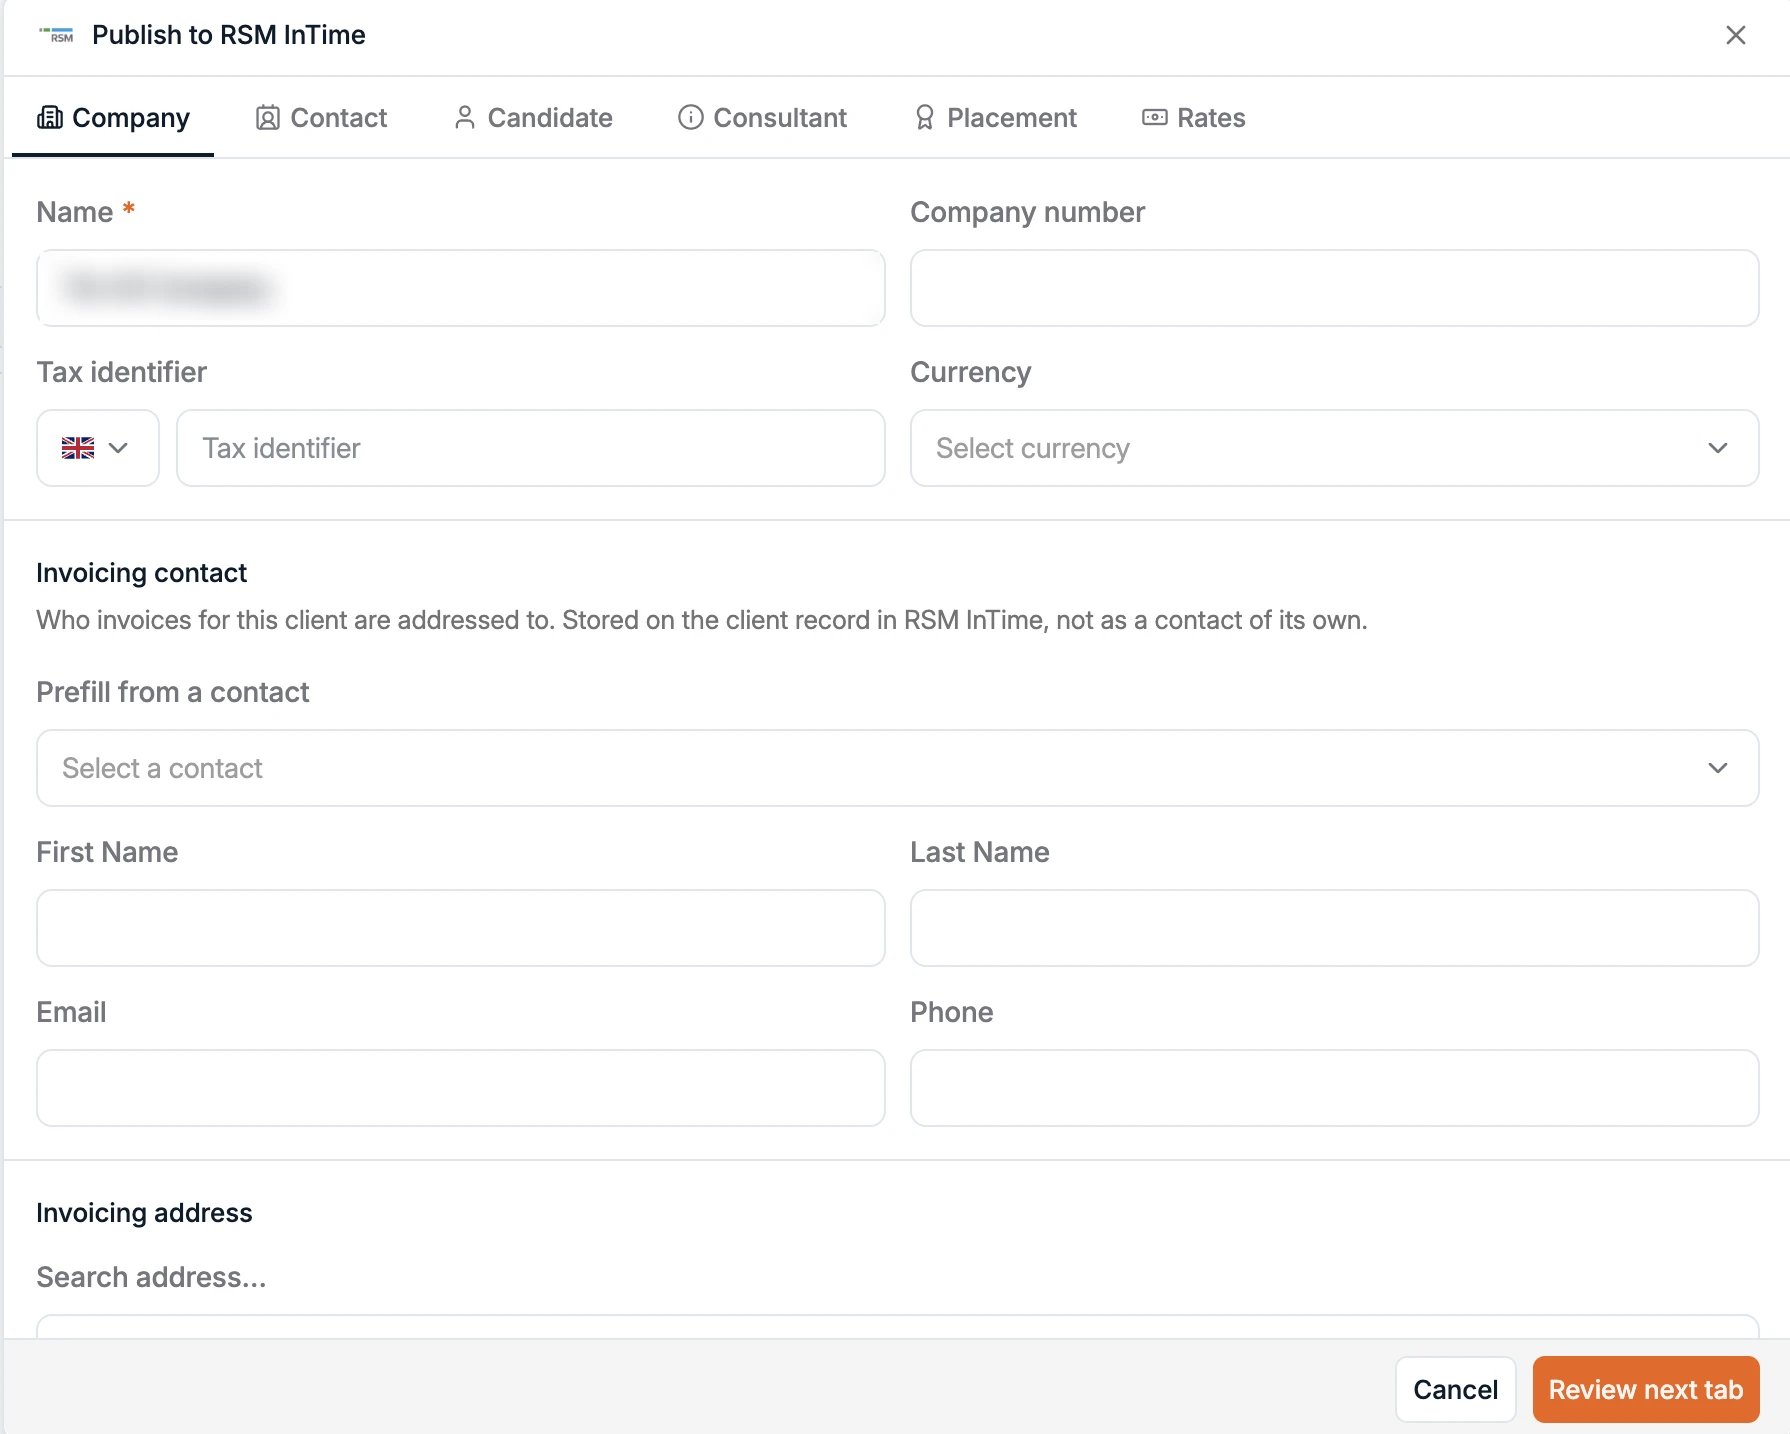
The form has six tabs. Work through them in order with Review next tab, or click a tab to jump to it. Fields marked with a red * are required.
On the Company tab, the Invoicing contact is the person invoices for this client are
addressed to. Pick one with Prefill from a contact or type the details in. RSM InTime
stores it on the client record, not as a contact of its own.
Publish
Click Publish on the Rates tab. Spott sends the placement to RSM InTime, where it is ready for timesheets and invoicing.What happens next
Once the placement is in RSM InTime:- Timesheets are entered and approved in RSM InTime.
- RSM InTime pays the worker and invoices the client using the rates you published.
Frequently asked
- Who can connect the integration? A Spott admin, from Settings → Integrations.
- Do I need to publish every placement? Yes. Only placements you publish with Publish to RSM InTime are sent. Nothing goes to RSM InTime automatically.