

In this section you learn how to find and create companies, organise client records, manage
contacts, use company matching and hierarchies, and support business development, all from
one place.
1. Understand the companies overview
Companies are your client records in Spott. The Companies page is where you find an existing account, add one that is not there yet, and open a record to reach the jobs, contacts, placements, and group structure attached to it.1.1 Find and sort companies
Use the search bar on the Companies page to find a company by name or keyword. For Boolean search, put an exact phrase in quotation marks, then combine terms with AND, OR, or NOT. Click Filters above the table to narrow the list by:- Stage: find leads, prospects, or companies at another stage.
- Lists: show companies saved to a particular list.
- Location: focus on clients in or around a location.
- Company information: filter by name, size, or industry.
- Dates and interactions: find companies by creation date, next task, or recent contact.
- Custom fields: use the fields created for your workspace.
1.2 Add a company
From the Companies page, click Add company. Start typing the company name and select a recognised company to fill in the available public information automatically, or enter the details by hand. Click Create company when the record is ready. You can also add a company from:- A company preview: click a company name elsewhere in Spott, then select Add as company if it is not already a client record.
- LinkedIn: open the company’s LinkedIn page and the Spott browser extension. Select Import as company if the company is not already in Spott.
- A CSV or Excel import: companies can be matched or created from the company names in imported candidate or contact rows.
1.3 Explore the company record
Click a company name to open its record. Use the tabs to reach the information connected to that client:- Jobs: open and past roles, with an overview of their pipelines.
- Speculative: candidates presented without an open role.
- Notes: internal context recorded by your team.
- Contacts: the people linked to the company, and their roles.
- Files: documents uploaded to the company record.
- Tasks: follow-ups and reminders connected to the client.
- Placements: current and previous placements at the company.
- Hierarchy: parent and child companies in the wider group.
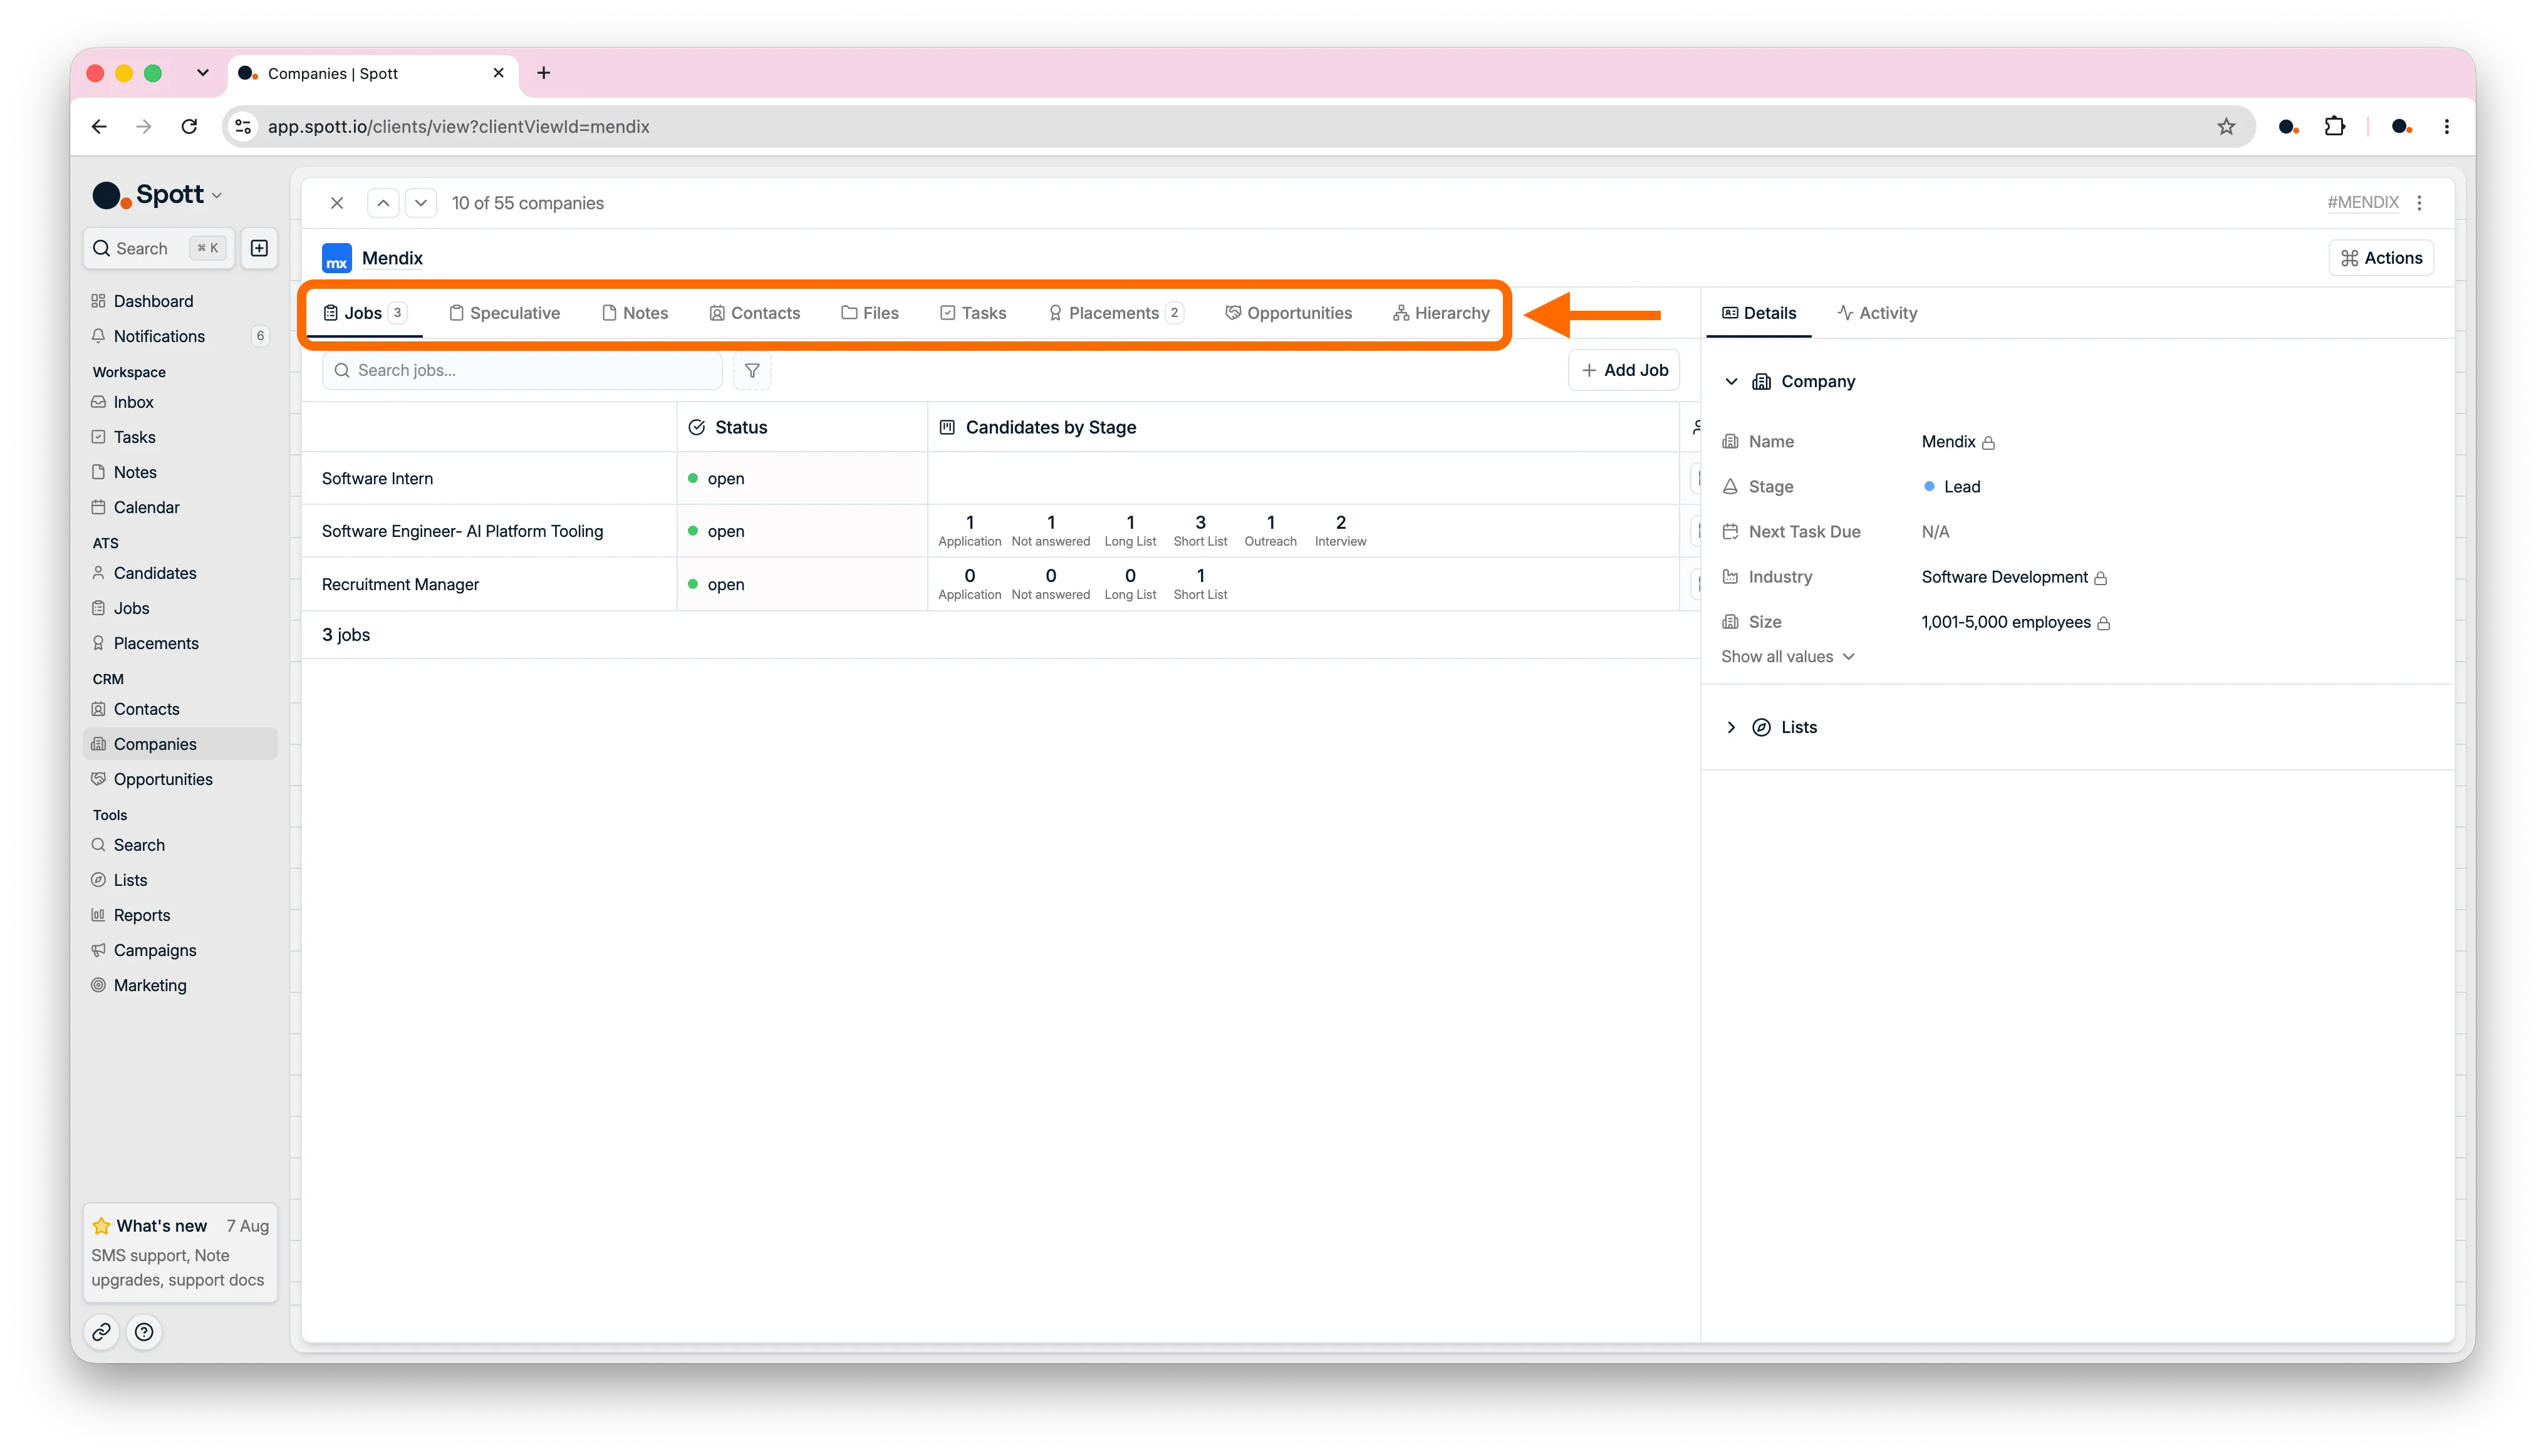
The columns on a company’s Jobs and Contacts tabs mirror the columns configured in
the main Jobs and Contacts views. Change and save those main views to update the company
tabs.
1.4 Find nearby candidates for a company
If Matching is enabled for your workspace, open the company’s Matching tab to find candidates near the client’s location. Use the Within range slider to search within 10, 25, 50, 100, or 250 kilometres. The results show each candidate’s location, current or previous company and role, time in that position, and institution.1.5 Connect related companies
Open Hierarchy on a company record when a client belongs to a larger group.- Click Add child to place subsidiaries, business units, or divisions beneath the current company.
- Click Change parent to attach the current company to a different parent.
- Open a company’s ⋮ menu to add another child, change the relationship, or remove it from the hierarchy.
- Subsidiary: a separate legal entity owned by the parent.
- Business unit: a commercial unit that may have its own budget and hiring managers.
- Division: a structural part of the parent, such as a product line or a region.
A company can belong to only one hierarchy at a time, and can have only one parent. A
child company can still have children of its own.
Adding a company
Create a company from Spott, LinkedIn, a preview, or an import.
Organising companies
Configure columns, filters, sorting, and views.
The company record
Every company tab, the Details panel, and suggested candidates.
Company hierarchy
Build and maintain parent and child relationships.
2. Understand the contacts section
Contacts are the client-side people you work with, such as hiring managers, HR partners, and decision makers. Their records keep client conversations, responsibilities, and business development activity connected.2.1 Find and organise contacts
Click Contacts in the left-hand navigation bar to open the full contact database. Use the search bar to find people by name, company, or role. For Boolean search, put an exact phrase in quotation marks, then combine terms with AND, OR, or NOT. Click Filters to narrow contacts by:- Role and company: find people by job title, company, or stage.
- Ownership: Main Contact and Main Contact Team, the person and the team who own the relationship.
- Location: use the contact’s or the company’s location.
- Dates and interactions: find contacts by recent activity, next task, or creation date.
- Lists and custom fields: use saved groups and workspace-specific information.
2.2 Add contacts
From the Contacts page there are several ways to add a contact. Search for an existing person first, or create a new one, then select their company and click Add contact.- Manually: search for an existing person first, or create a new person, then select their company.
- Browser extension: import one contact at a time from a LinkedIn profile.
- CSV or Excel: choose Contacts as the import type to add up to 1,000 rows, and link each contact to the company in that row.
One person, one record. If someone is already a candidate, adding them as a contact
adds the role to the same record. Deleting the contact role does not delete the person
record.
2.3 Explore the contact record
Click a contact’s name to open their profile. Its structure mirrors a candidate profile. The Overview tab holds:- Summary: an AI summary and suggested field updates.
- Notes: notes connected to the contact and their jobs.
- Experience: work history and education.
- Communication: email and WhatsApp history, and the actions you can take.
- Files: job descriptions, briefing documents, and terms.
- Tasks: follow-ups assigned to you or your team.
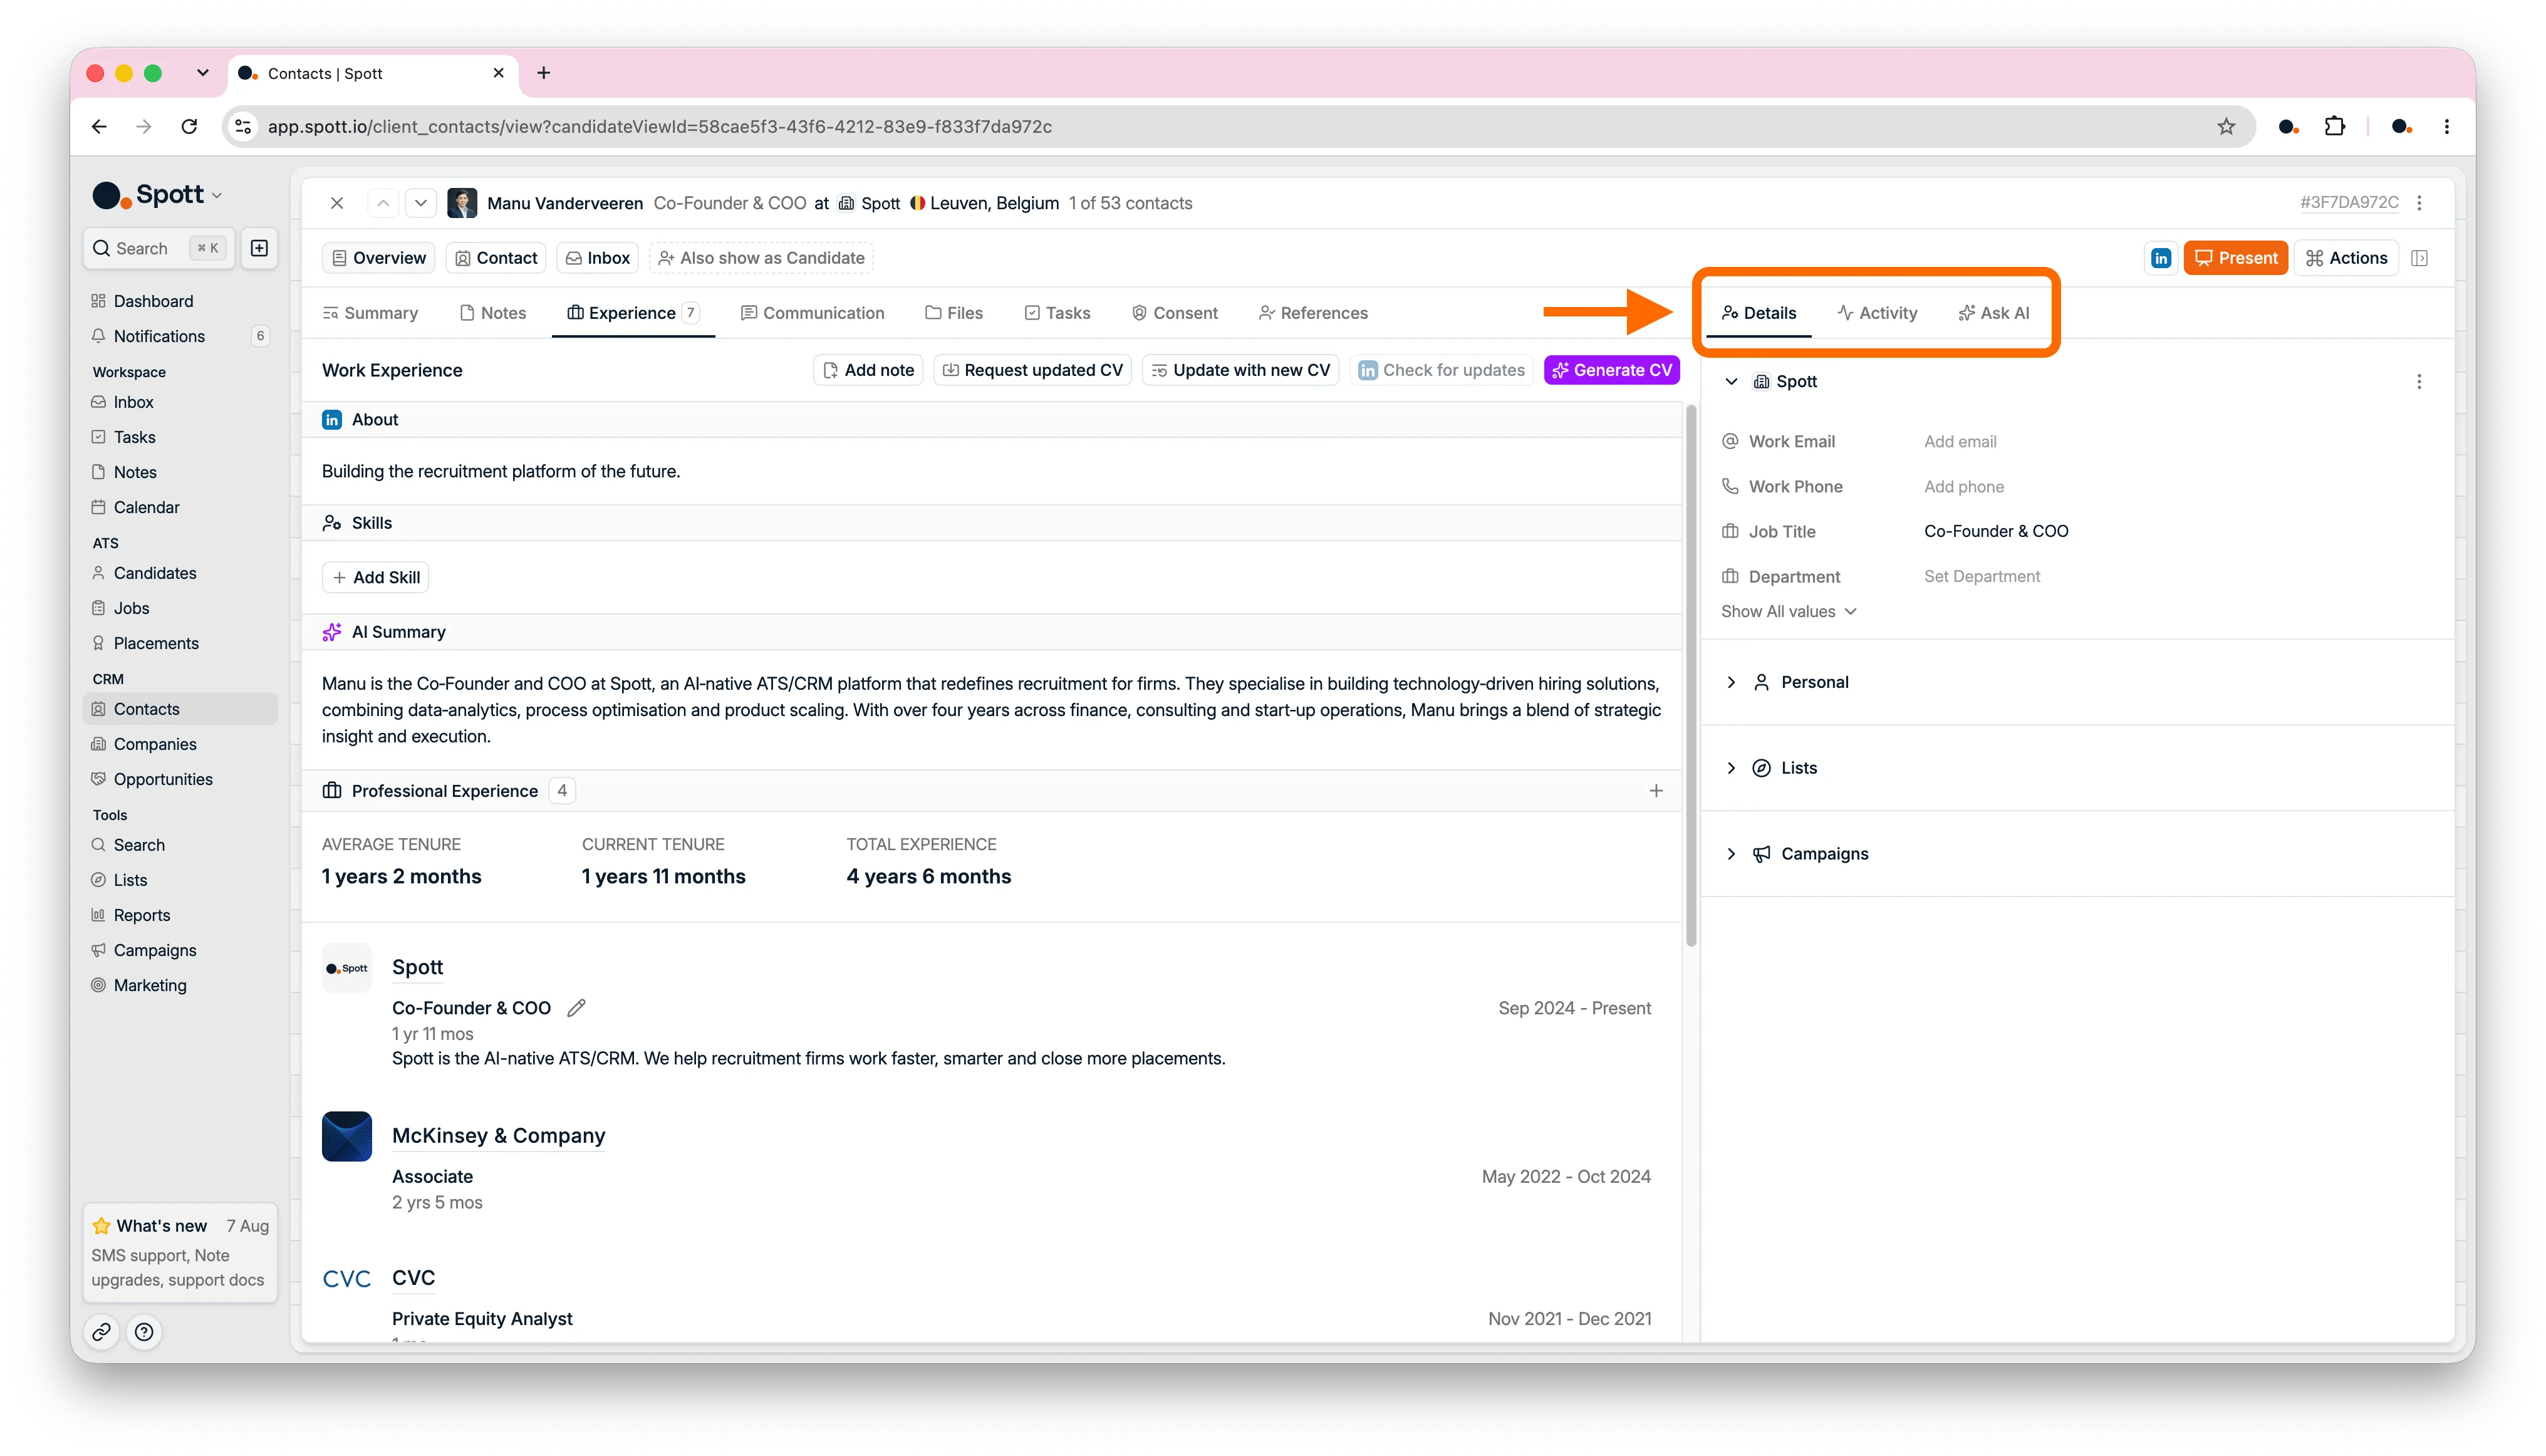
Personal details stay with the person when they move company. Contact details belong to
the company relationship and do not carry over.
2.4 Use contacts for presentations and business development
Once the contact record is in place, use it to support the relationship:- Present candidates: select contacts from a list or a filtered Contacts view to present a candidate to several people in one action.
- Track potential deals: if Opportunities is enabled, use it for work you are trying to close before it becomes a specific recruitment job.
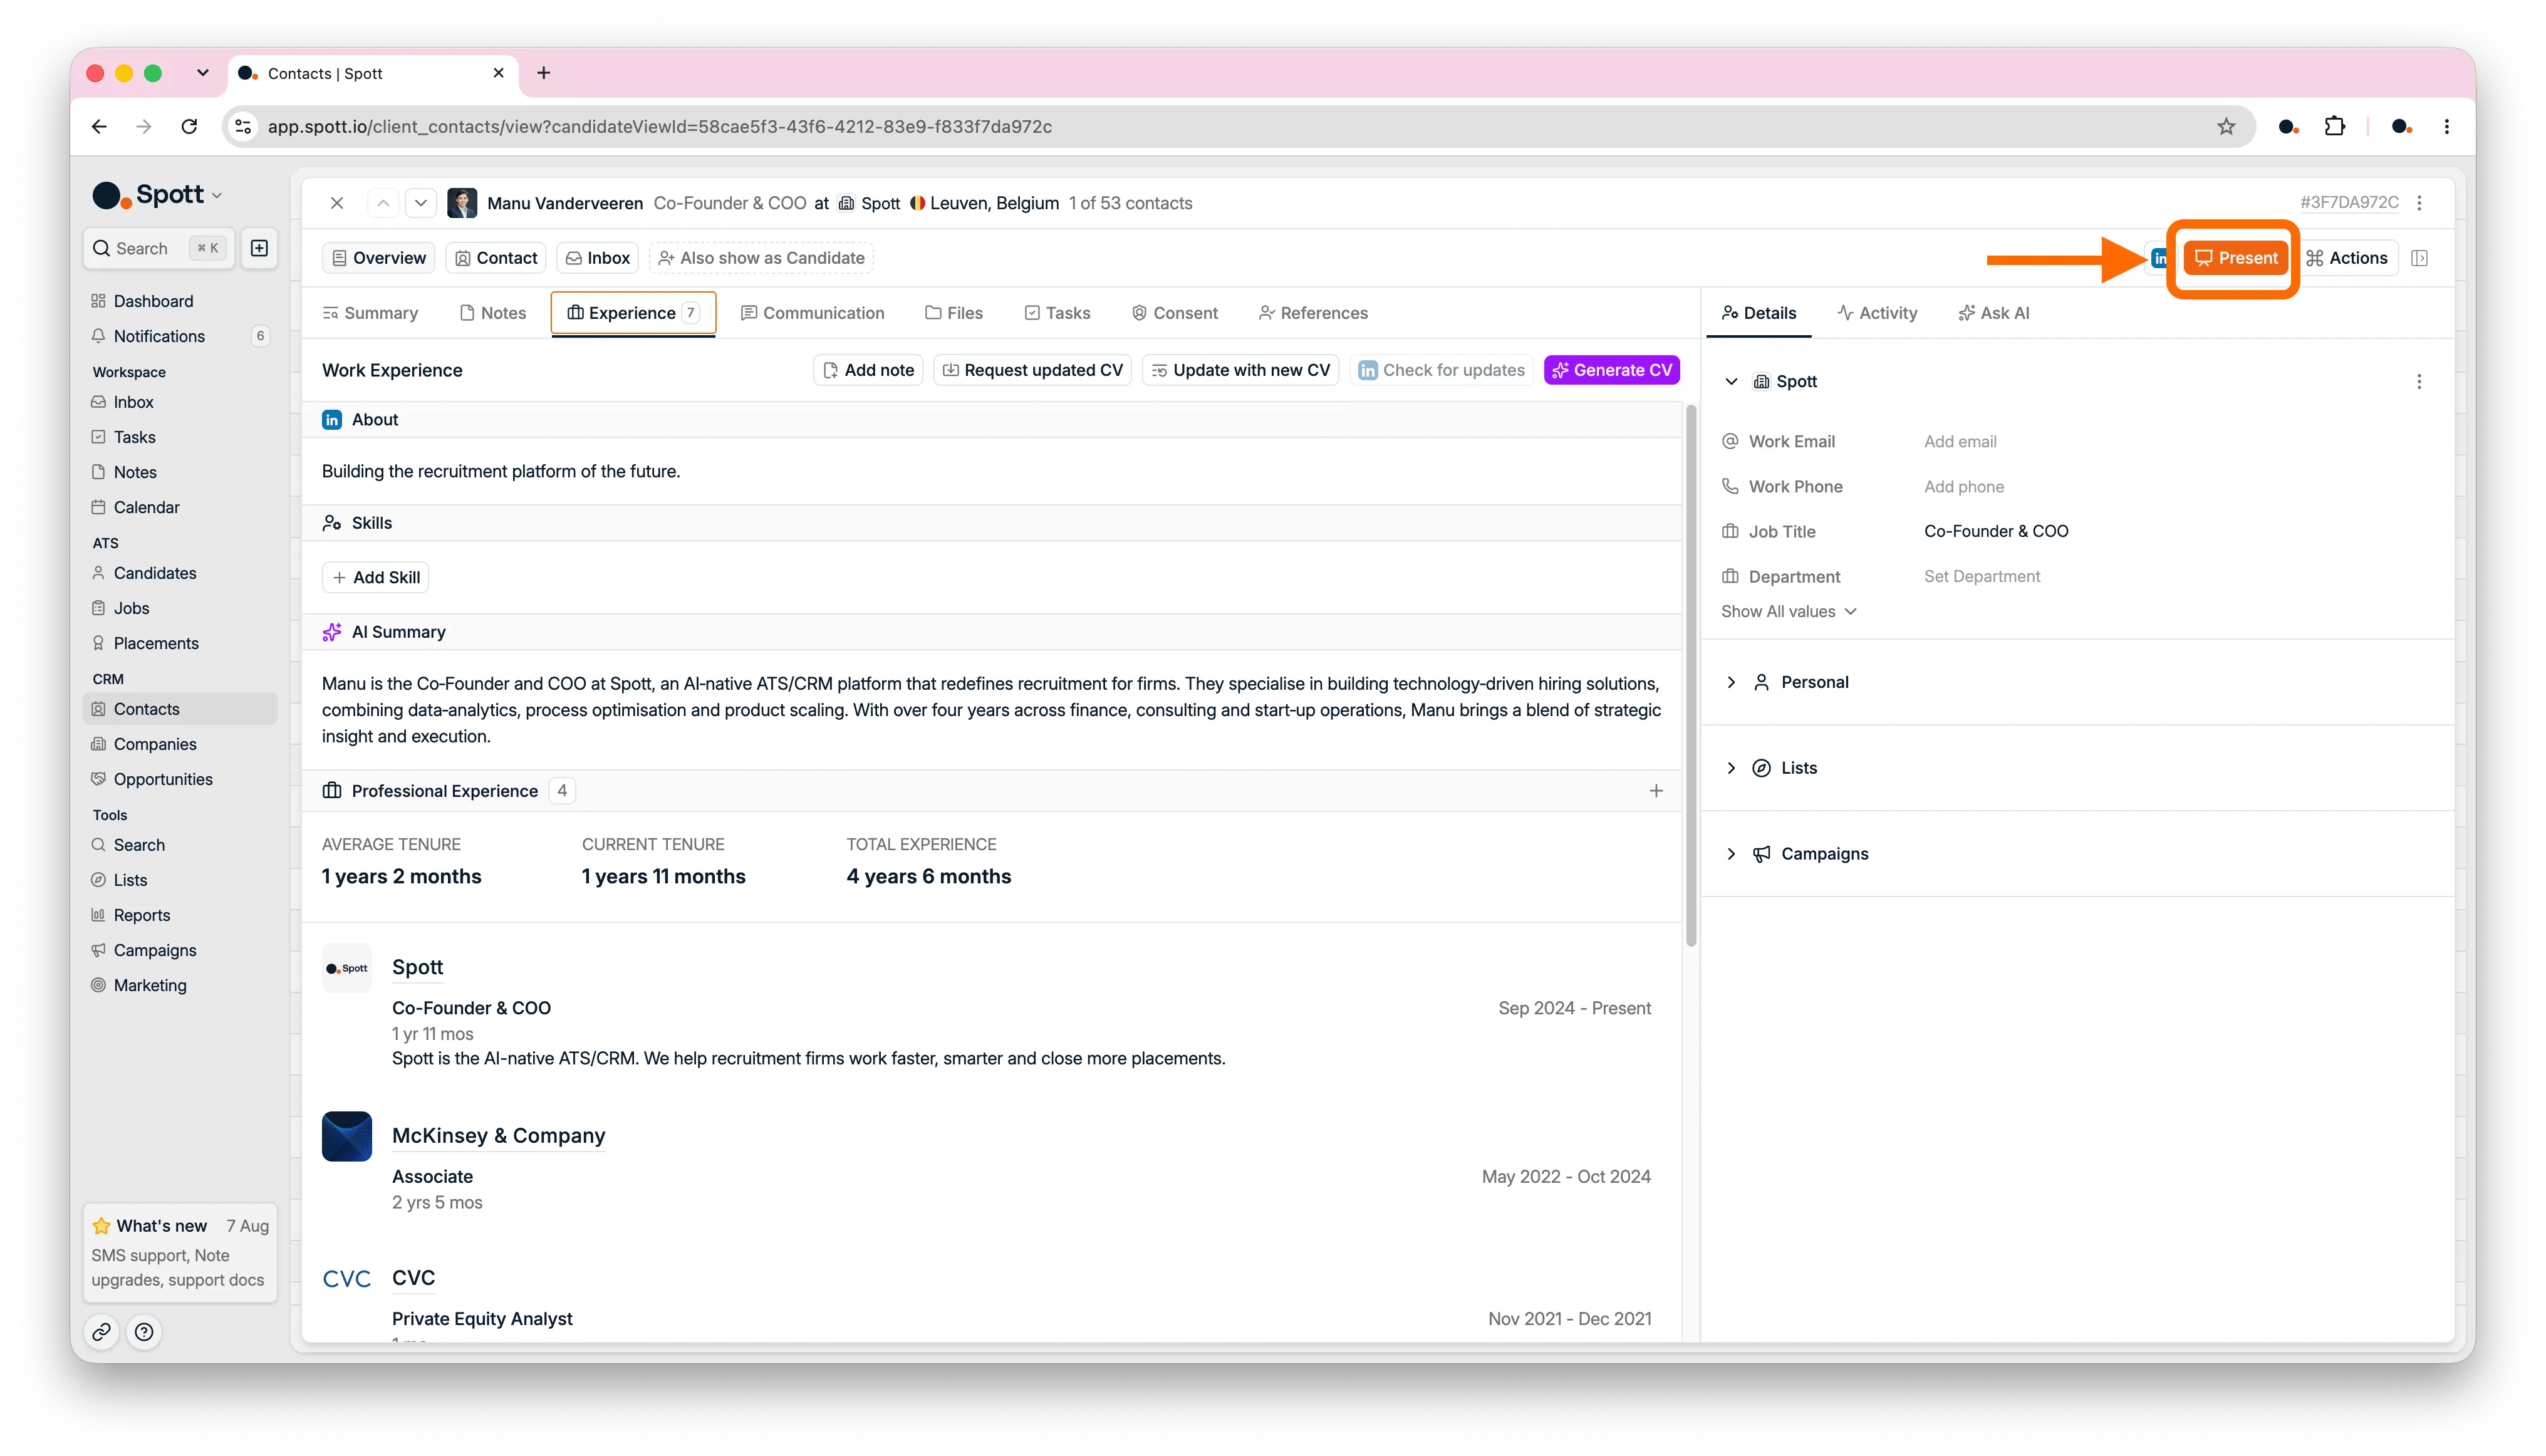
Candidates are not linked to opportunities. Convert the opportunity to a job before adding
candidates to a pipeline.
Searching contacts
Search, filters, sorting, grouping, and saved views.
Adding and managing contacts
Create contacts and understand their profiles.
Contact enrichment
Find missing email addresses, phone numbers, and LinkedIn URLs.
Presenting candidates
Send candidates to one or several client contacts.
3. Understand opportunities
Opportunities track deals: anything you are working to close that is not a specific recruitment job yet. They are most useful when your agency has a distinct sales motion, with sales reps working deals and recruiters working jobs.Opportunities are off by default. An admin turns them on under Settings → Features by
selecting Enable opportunities.
3.1 Create an opportunity
Click Add opportunity, or pressA then Y from anywhere in Spott.
On the opportunity record, add the detail that makes the forecast useful:
- Estimated value and Target close date.
- Opportunity owner: who is responsible for the deal.
- Client contacts: link them, and emails, calls, and meetings with them surface on the opportunity itself.
- Notes, Files, Tasks, and Communication: anything else linked to the deal.
- Any custom fields configured for your workspace.
3.2 Set up stages
Configure the stages that match your sales process, such as Pitching, Proposal sent, Negotiation, Closed won, and Closed lost, under Settings → Stages. Drag opportunities between stages as deals progress. A List view is also available, with filters, sorting, saved views, and a Group by company toggle that works the same way as it does on Contacts.Opportunities
Track deals and convert recruitment work into jobs.
Configure stages
Stages, weighting, and the pipeline forecast.
Now your turn
- Create a new company
- Import three contacts from LinkedIn using the browser extension
- Add one job for your new company, and add candidates to its pipeline
Next: record and track placements
Close the loop when someone gets hired.